Back in January, I was able to source and purchase fabrics for the upholstery & curtains for the Little Green Airstream:

Finding someone who specializes in making curtains for vintage Airstreams meant that they would better understand the idiosyncrasies of these trailers’ interior construction, meaning less guesswork and a greater likelihood that they’d turn out right the first time. But conversely, my experience with custom work is that you still have to review the proposed construction in detail, especially if the work is being done a good distance away from you.
So to find the right person, I checked the Airstream Forums for reviews and also did a Google search, and came up with the names of two potential contractors. The first one I reached out to fell through; they were on the verge of retirement and our communications went from spotty to nonexistent. The second company I reached out to – also highly recommended – was JPA Drapes. I’ve found the proprietor, Audrey, to be very amiable and passionate about fabricating a final product that fits properly.
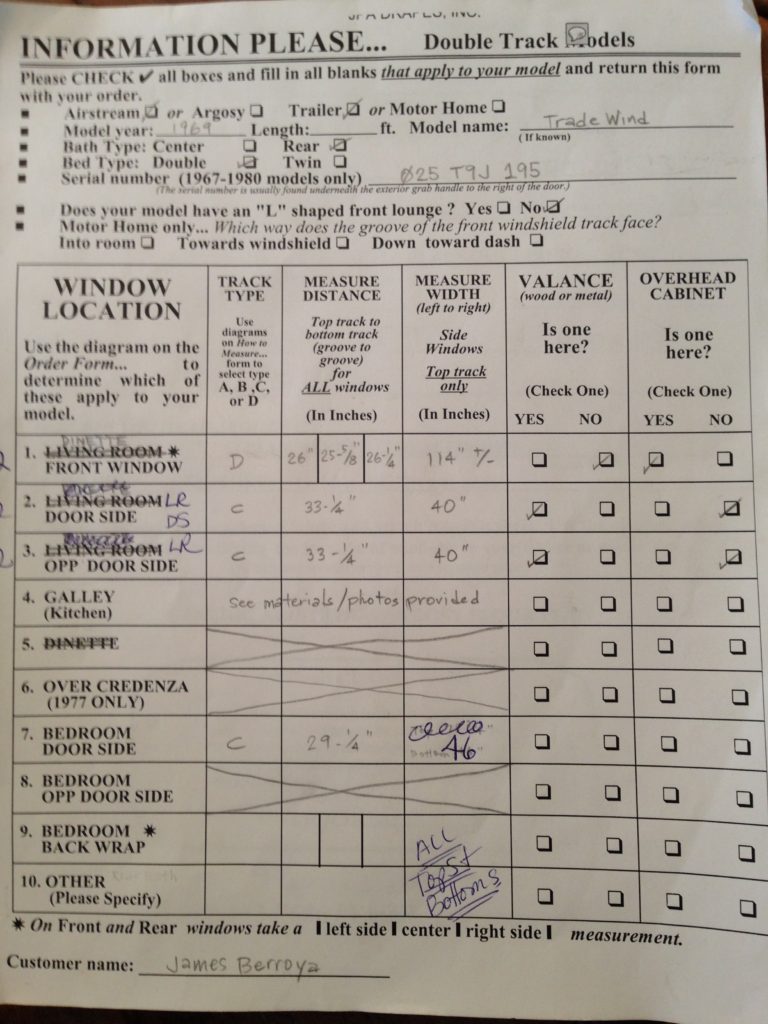
She started by sending me a worksheet template for me to fill out, so that she would have basic information about the number of windows, curtain track types and dimensions for my particular trailer. Because a) each trailer has a different layout and these “rooms” may be called different names, and b) measurements need to be taken precisely and agreed upon by both parties, I found that a follow up phone call reviewing this worksheet was necessary.
One of the design challenges we faced was the installation of curtains in the Galley (Kitchen) area. When I purchased the trailer, there were no curtains or shades installed. On each side of the Galley window, there were small, trapezoidal wooden blocks with curtain snaps that look like this:
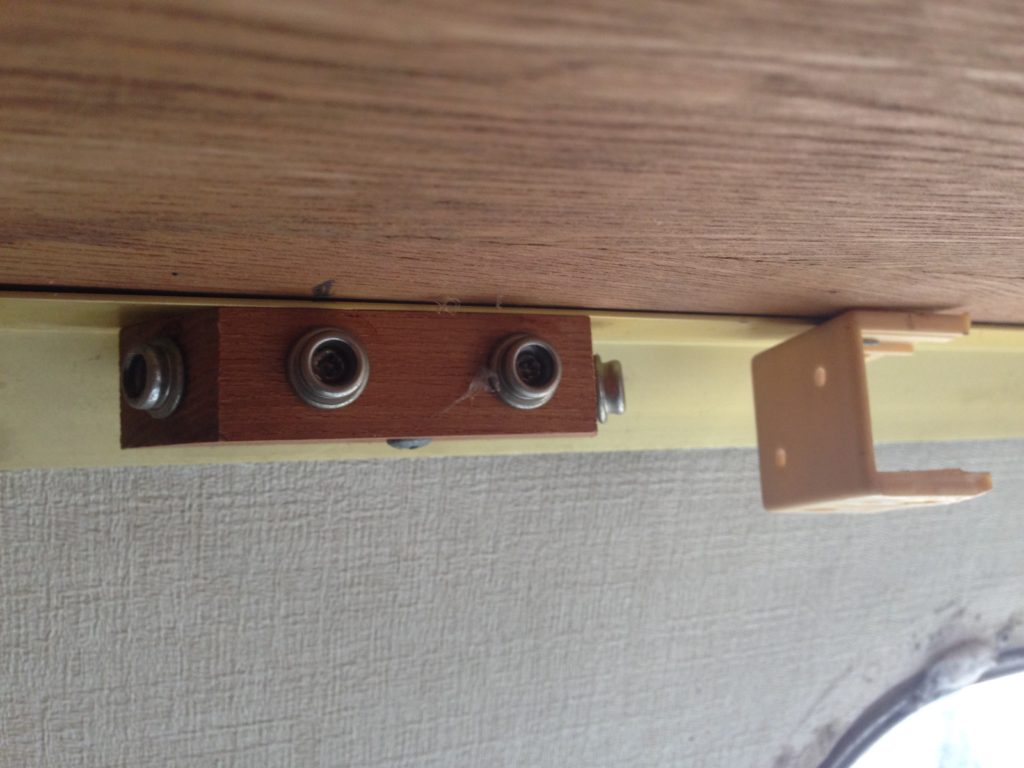
My first impression was that this was an inconvenient location for curtains. Because they were located so close to a stove and sink, they’d get dirty very easily and perhaps even pose a fire hazard. Removing and replacing them every time you cooked or washed the dishes would mean more wear-and-tear, so you’d have to take very good care of them, use a sturdy material, and if you had enough fabric, perhaps make two or three sets to match the lifespan of the other curtains. My second impression was that, if you instead used a set of blinds to cover that window, you might not have complete privacy if people can see in along each side of the blinds. So a couple of curtains on each side might offer some additional privacy.
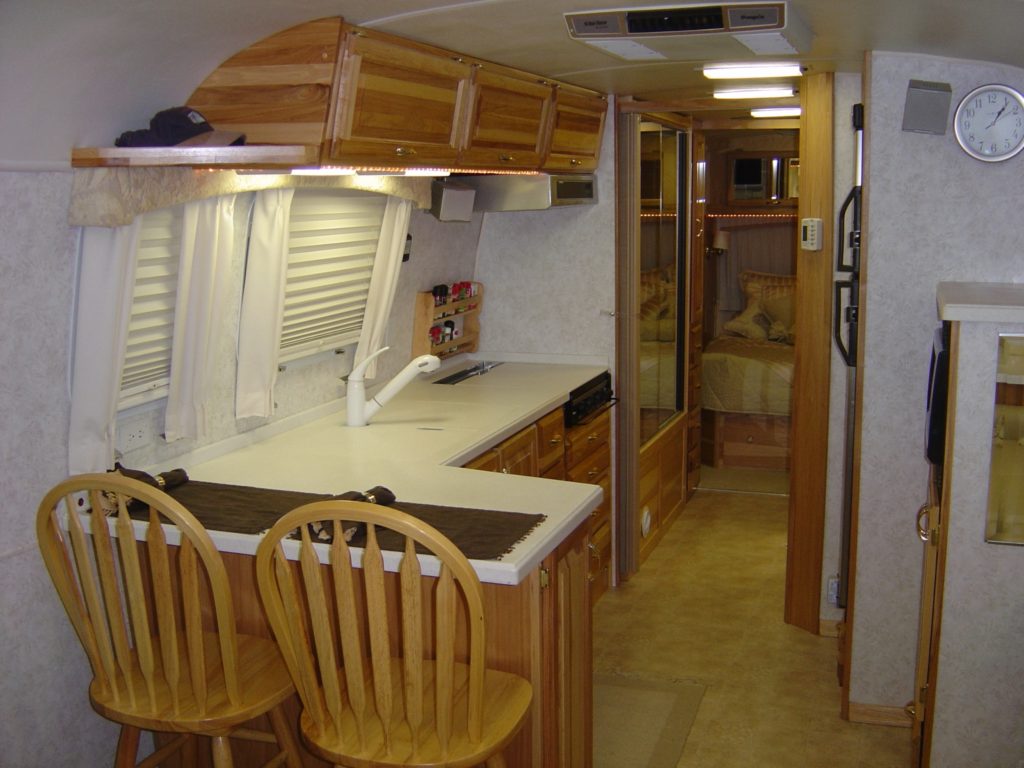
I sent pictures to Audrey, who was not convinced that these were installed by Airstream originally, but I suspected that they were. When I showed them to pro restorer Colin Hyde when we met at his shop, he said he hadn’t seen them before either but that from the quality, they looked consistent with the type of work that Airstream might have done in the factory. Either way, they were there, and I was interested in seeing how they might be incorporated to work with a set of blinds. I found this photo online that suggested a method, and sent it along to Audrey:
Once we worked out the basic measurements and rough pricing, I needed to get her the fabric and a payment in order to get the work started. It turned out that I was headed out of town on a family errand and her home / office was on the way, so I suggested a drop off to save me the shipping cost, and so that we could review a couple of final details. Audrey was very gracious in allowing me to stop by (which I gathered was not a usual practice for her), but I found it to be very clarifying to review details with visual aids in person, especially the Galley hardware.
I made a payment in full up front in this case, which is not necessarily a common or recommended practice in working with contractors (for a number of reasons), but I made a concession here in good faith and because I knew it would be more convenient for Audrey. The pricing was very fair and the turnaround time was 3 weeks, and I appreciate the care and dedication that went into getting this work done.
The curtains arrived to me neatly packaged, with brand-new hardware and a set of instructions for the installation:
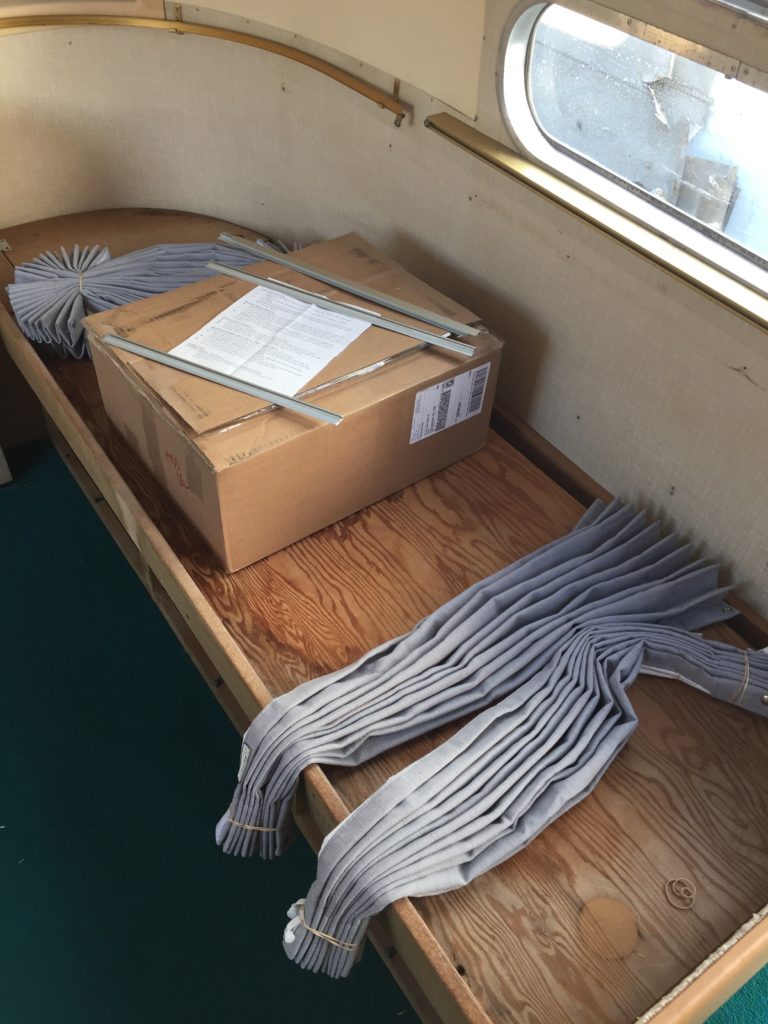
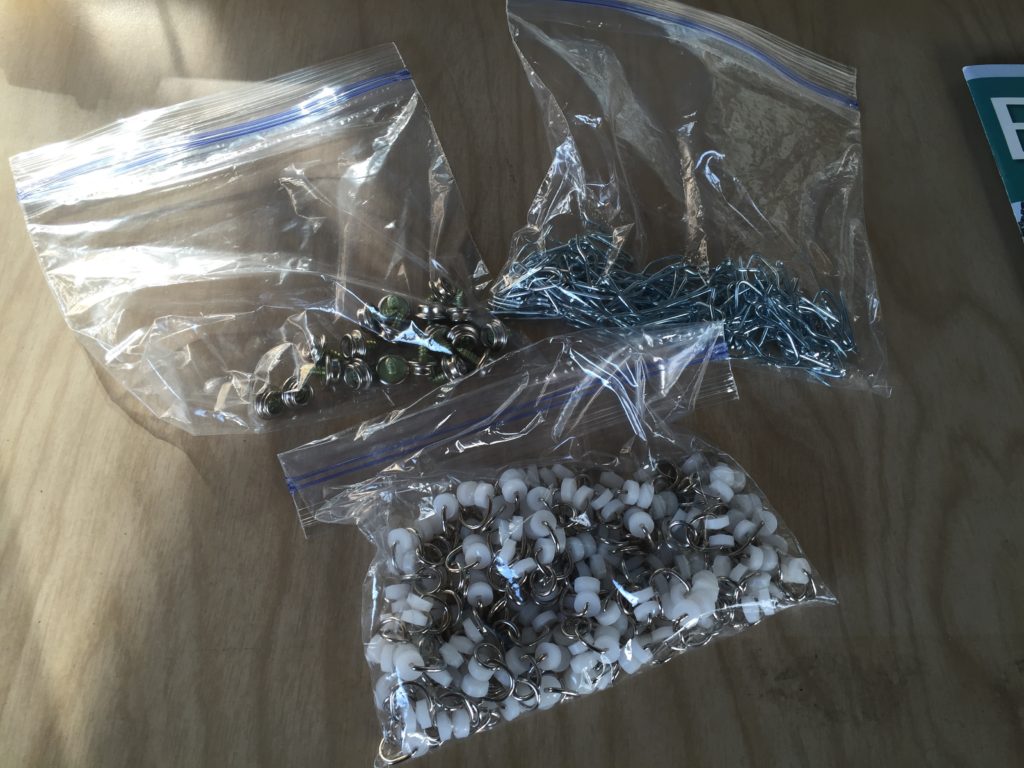
Now, it was time to “dry fit” the curtains. Dry fitting is a preliminary installation you do to see how well something you’ve constructed is actually going to fit or work in the space you’ve made it for. You take note of any necessary adjustments, remove the piece and work on it so that it fits perfectly for a final install.
I hadn’t installed this type of curtain or worked with these hardware types before, so this was a little bit of a learning experience and took a little more time than I anticipated, but it was fun and very satisfying. I sat with the instructions for a few minutes, and being a very visual learner, I found myself wishing that they had a couple of pictures so that I could figure things out more easily. But the curtains were clearly labeled with the places they should be installed, and I was able to figure out how to install the windows that used sewn-in track slides first, and gradually worked my way through the more difficult applications one-by-one.
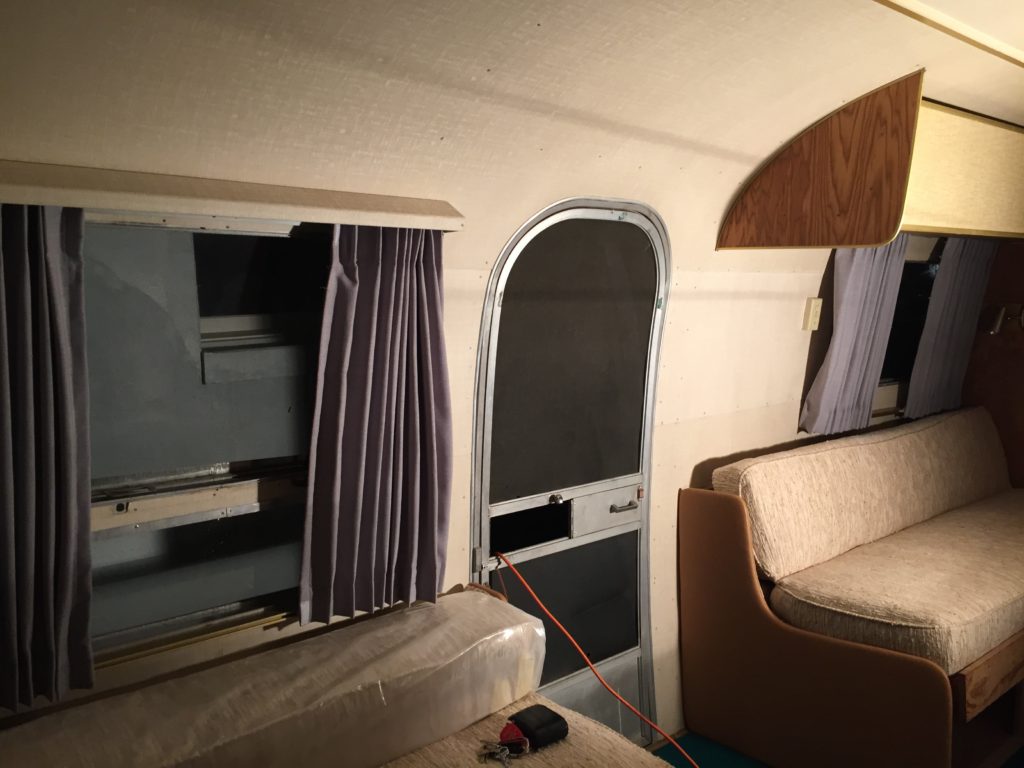
When I got to the bank of windows at the very front of the trailer, I had to figure out how to use the curtain hooks and sliders, and wasn’t sure how to go about installing them properly. I found this YouTube tutorial to be very helpful, and I watched it a few times before and during the install:
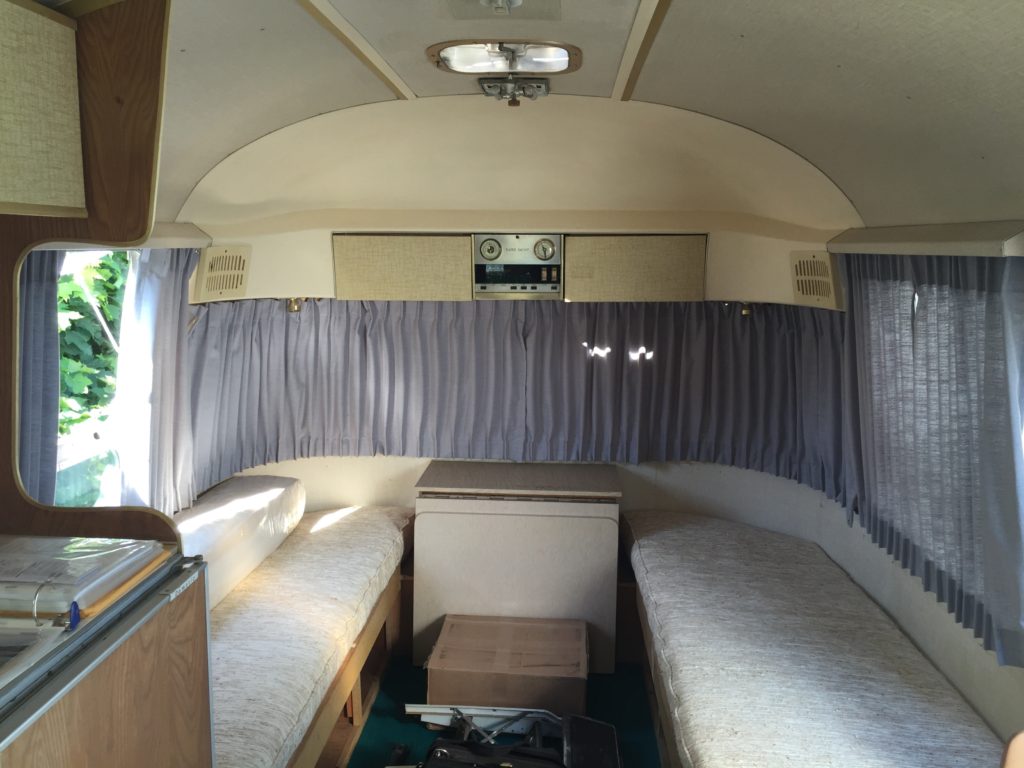
Here’s how it turned out and a few things I learned in the process:
- Lubrication: I plan to lubricate some of the curtain tracks with lithium grease spray or a similar product, to make the hardware glide along the tracks more smoothly. I’ll be careful not to get any lubricant on the fabric.
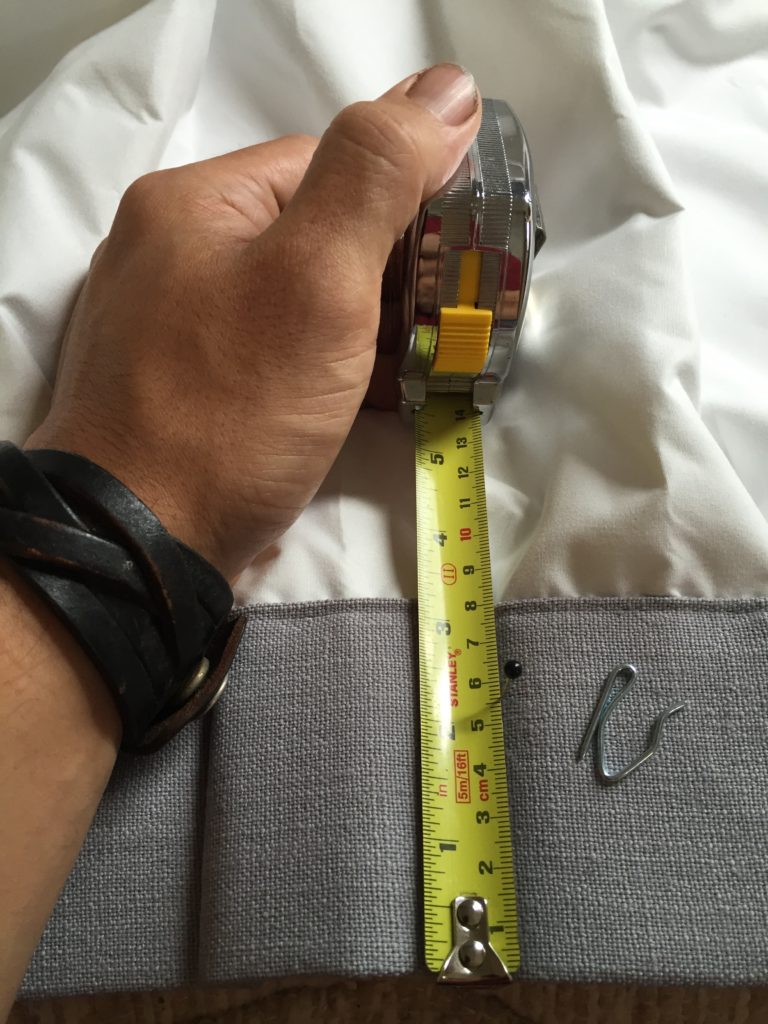
- Existing hardware: One of the things that Audrey and I didn’t account for was the locations of existing wall snaps that hold the curtains in place. Ideally, female halves of snaps on the new curtains land on their male counterparts that were installed when the trailer was originally manufactured. But, if the male halves are located arbitrarily somewhere on the interior wall instead of on the track we took measurements for, then the female part of the snap should be located on the curtain in a specific place that matches.
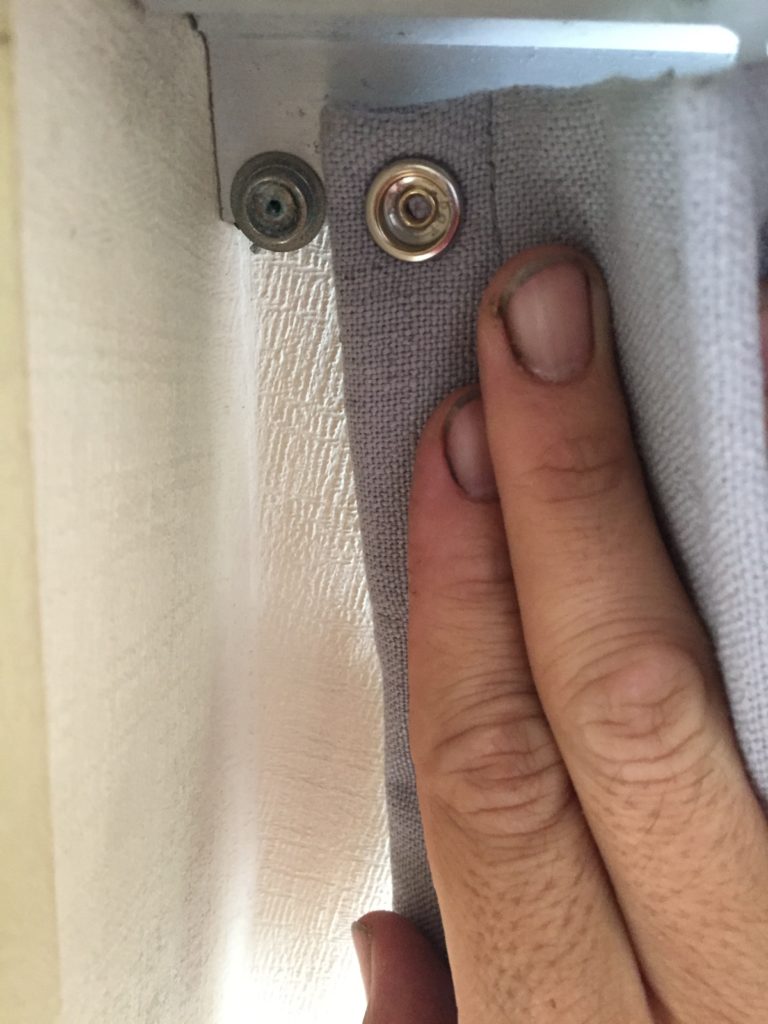
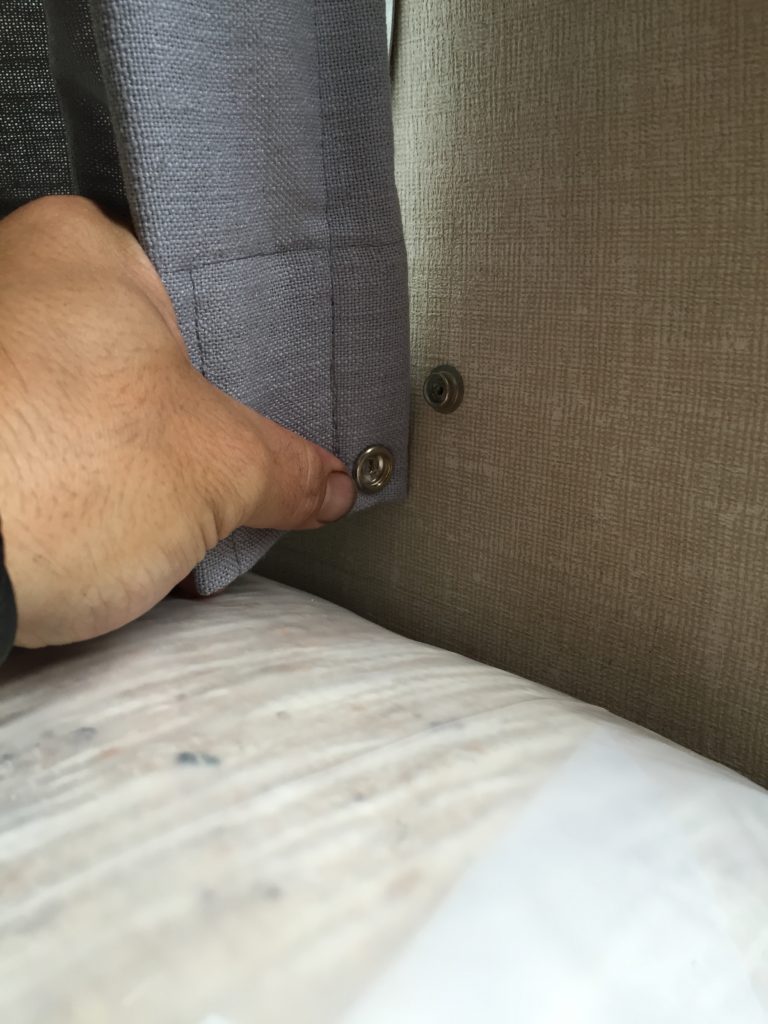
- Galley Hardware: The galley curtains are the pieces that need the most adjustment. There was a likely oversight about one of the measurements and the construction of an additional flap that don’t quite work.
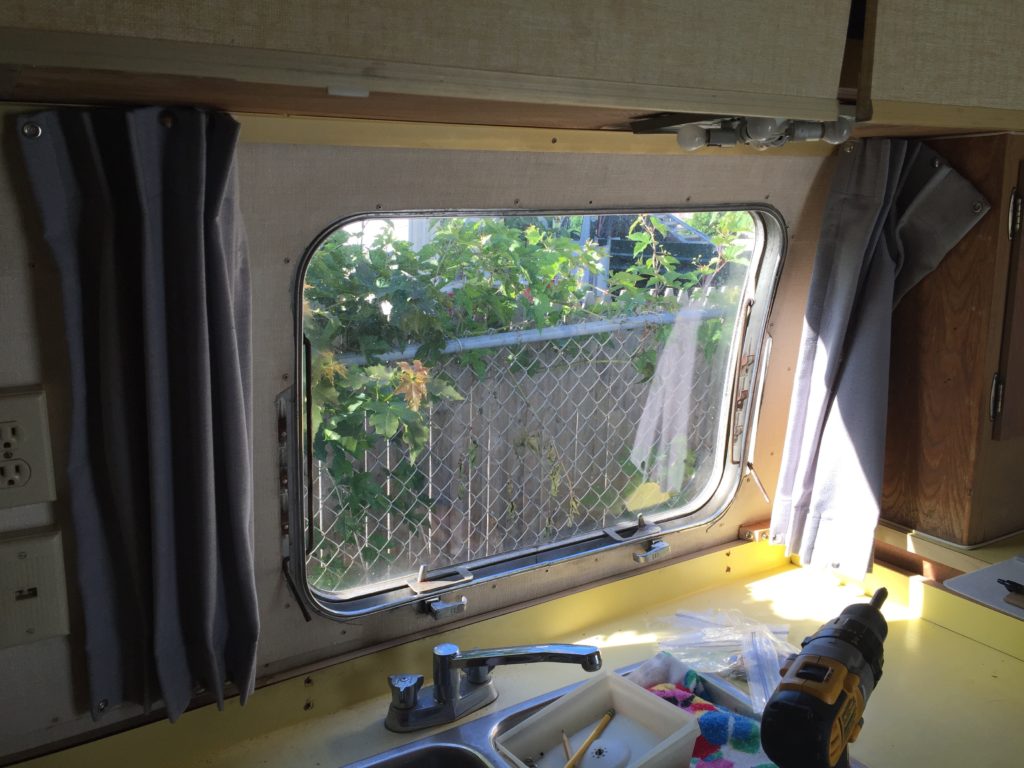
- Filtering makes a huge difference: This isn’t perhaps much of a surprise, but being able to filter your experience in the space, not just who looks in or out but how much sunlight gets in, &c. makes a HUGE difference. I’ve lived with this trailer for a couple of years, and it’s had a mostly intact interior and exterior during this time. I’ve recently installed new seat cushions and even had a meal or two with my dad inside, and every little thing you do in a renovation makes a kind of psychological or sensual difference in your experience of the space. But there was something about installing these curtains that made if feel like a home for the first time.
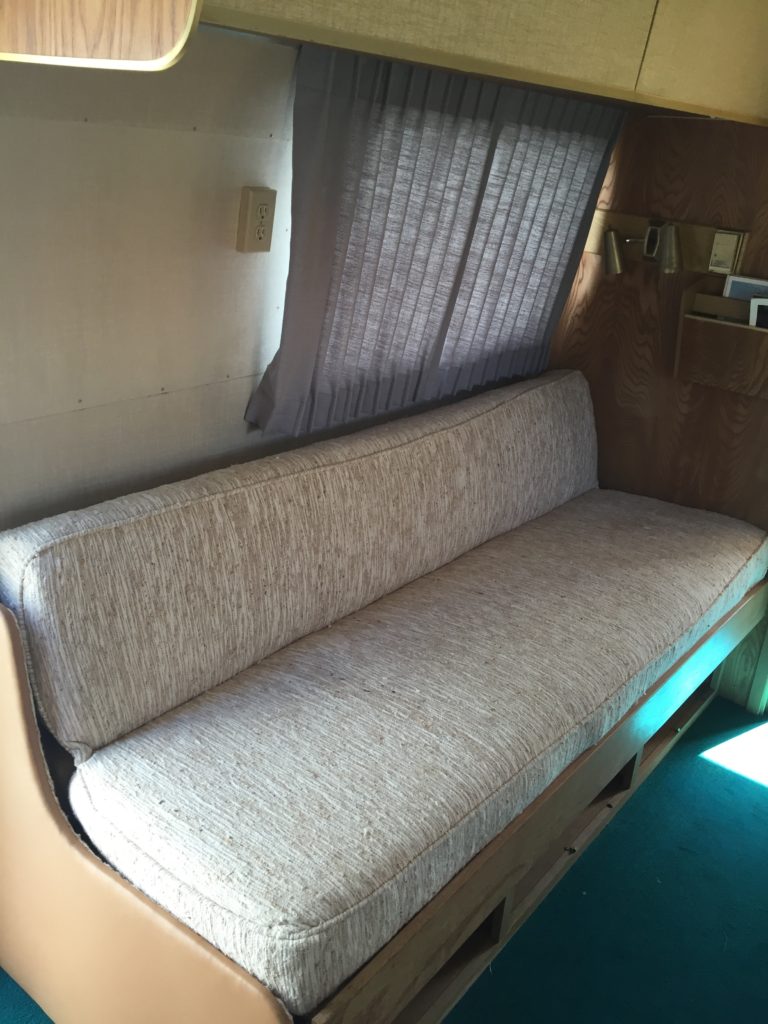
Generally, the dry fit was a success. I am really happy with the quality of the construction of the curtains and I’m confident I’ll be able to work with Audrey on the final details to have a perfect fit. Having these curtains installed really makes living in the space practical in a way I didn’t fully appreciate until now.
Up next: Working with a Professional Airstream Restorer (Pt. 3)


What an amazing difference the curtains make! The tailoring was very well done, and your instillation meticulous and inventive. Bravo.
Much appreciated! Your support means the world to me 🙂
I bought a ’69 Globetrotter in April last year, which had original cushions and some of the window coverings. Just wanted to tell you that my galley window also has the little wooden block things, too! I don’t know what was attached to them, but possibly like what you had made. My window had a roller shade with fabric and fringe (turquoise and green!) glued on it to match throw pillows. A lot of the old and original furnishings are in a shabby state, and I appreciate your great ideas for these vintage trailers!
Thanks, Angie!
I appreciate the feedback and compliments! 🙂 And good information about those wooden block things. I’d asked pro restorer Colin Hyde about them, and he wasn’t sure if they were original either (and he’d also recently bought a ’69 for himself…) so just goes to show the power of and need for community in sharing details like these if you’re going to restore. I’m installing a shade there for sure, and then see if I feel like I need the additional privacy of installing the curtains around it. I’ll be posting about it soon, so please stay tuned!