One of the most important aspects of managing a renovation project is to regularly & tactfully communicate with all the people who are working with you. This not only helps to ensure that the work happens in a timely fashion, but it keeps all of the parties on the same page about the scope and costs as they (often) change over time, and it puts your project back in the forefront of your contractor’s mind when they’re working on multiple jobs.
I’d recently been to visit a welder in Vermont who is helping to repair my Airstream’s chassis and also Colin Hyde’s trailer restoration shop in nearby Plattsburgh, NY for new axles, propane & electrical upgrades, and hardware installation. In part due to scheduling conflicts (both contractors are in demand and the chassis repair took longer than expected), my work wasn’t completed at either place and I was instructed by both of them to reach out by phone and e-mail to see when they could get me back in. Once I got return dates from them, I would adjust my schedule accordingly. My main focus was to get back to Colin Hyde’s shop, because the updating of the propane and electrical systems are of particular importance for my upcoming trip to California and make up a large part of the renovation for this phase.
In the meantime, I knew that there were little things that I could do to keep the project rolling and prepare for getting back in the shop. One of the items on my list was to replace what’s called a “stack” or “flat fixed” window on the road side of my trailer.
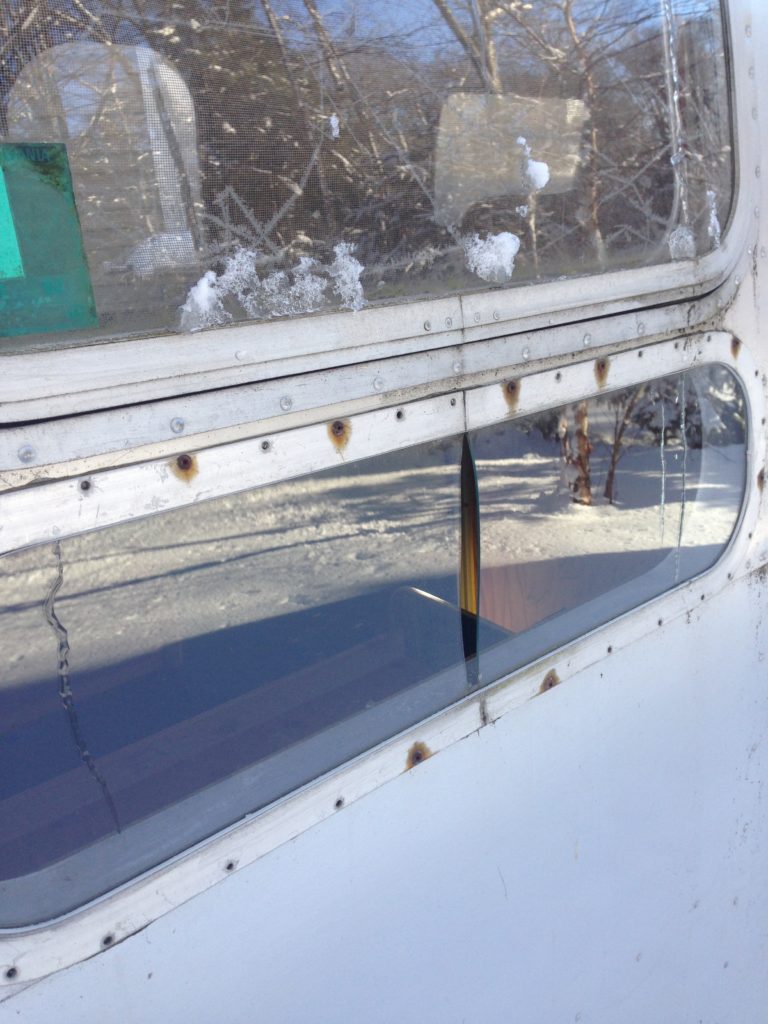
A previous owner had replaced this window in the past using the wrong type of glass (so it broke again) and re-installed the frame using only a few rivets with steel mandrels that rusted. I’d learned from Colin how this type of window is properly removed and replaced, and we’d discussed him doing this work along with the rest of the scope when he replaced my axles. Since the trailer was now unexpectedly back in my hands for a while, I figured that I could save myself some of the labor cost by removing the window frame myself and installing new glass at a local shop, then having someone else reinstall it.
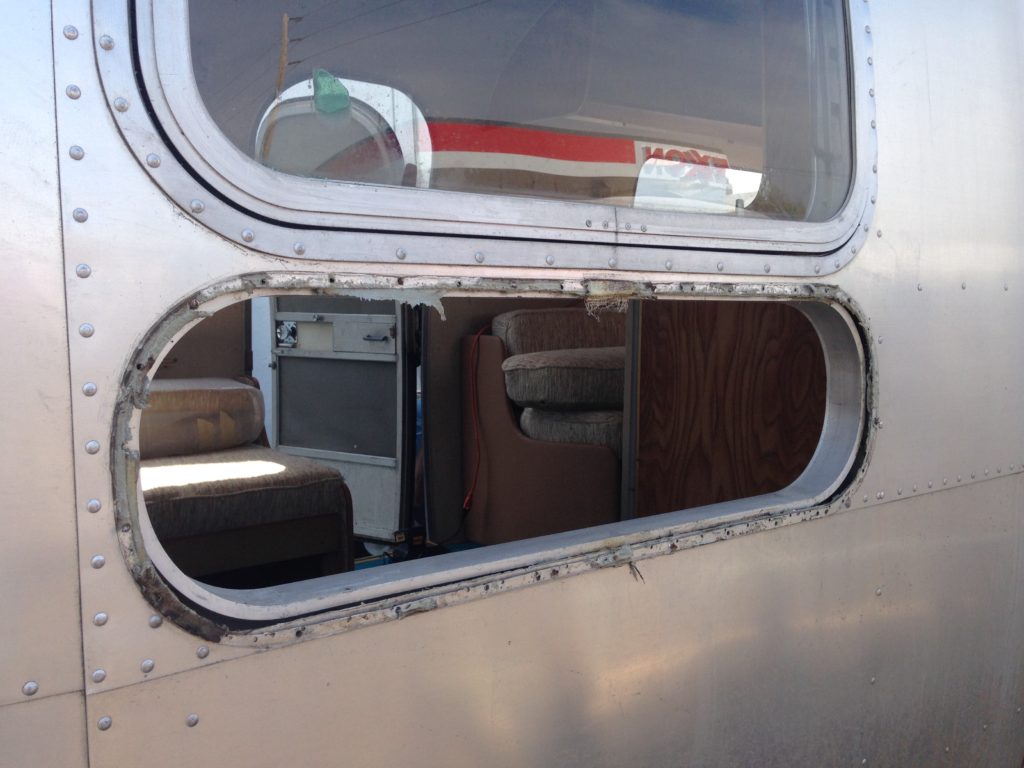
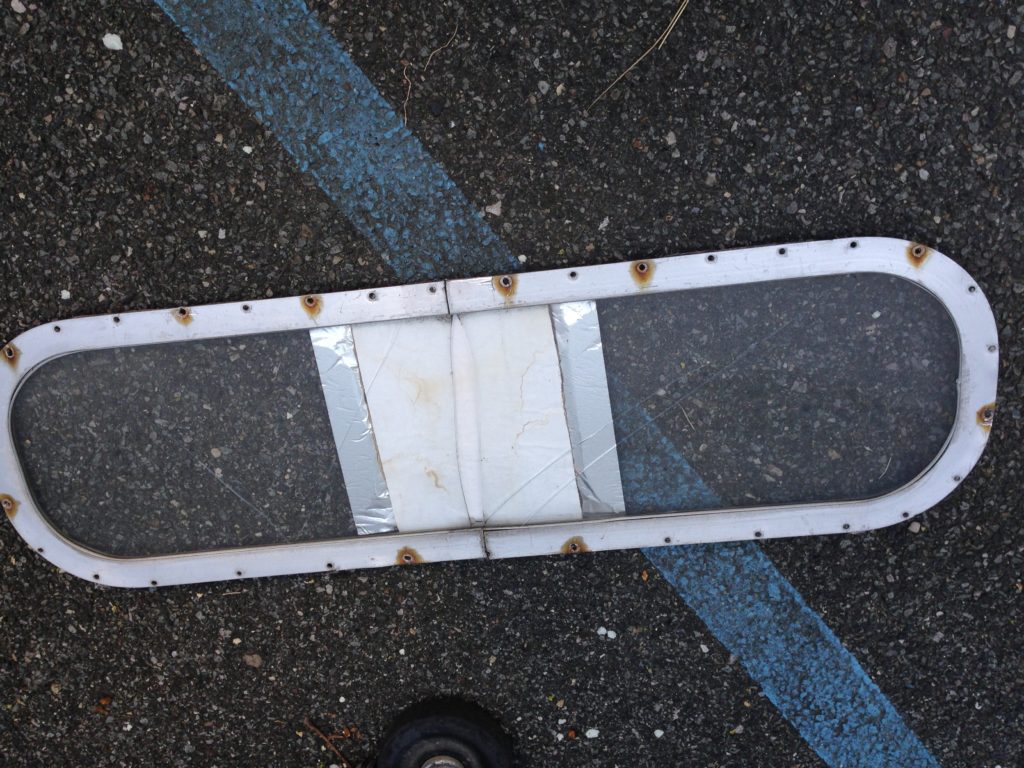
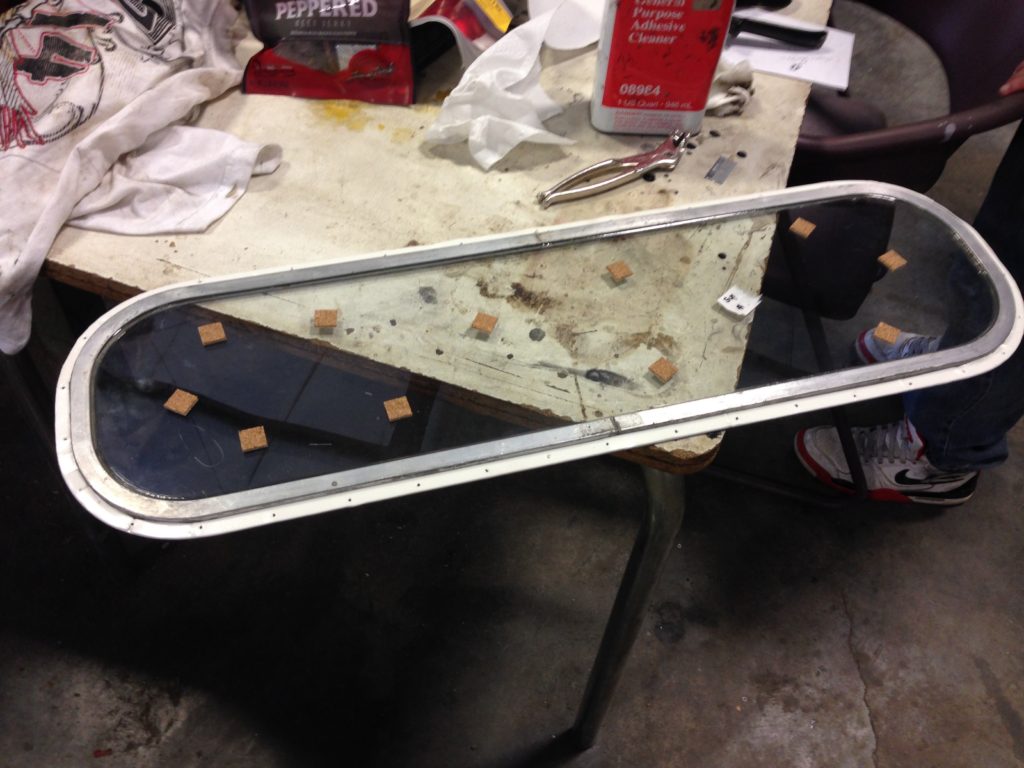
I used an 1/8″ drill bit and removed all of the rusted rivets from the frame. After that, the window frame came out easily, but there was a gummy, grey sealant that had been used along the interior of the window frame that I needed to remove using solvent, a putty knife, metal polish, and mildly abrasive scouring pads. This helped to remove the rust marks left behind by the steel rivets as well. Then, I filled in the rough window opening on the trailer using masonite and aluminum tape in case it rained. The next day, I took the window & frame to a glass shop in Manhattan’s Chinatown and requested that they install new, 3/16″ tempered glass and bond the glass in the frame with clear silicone. While I was there, I also had them fabricate a mirror for the bathroom to replace one that I’d broken earlier.
In the meantime, weeks were passing by, and I was actively waiting for a response to my phone and e-mail messages to Colin (which I made sure were quick and pleasant). I maintained an optimistic outlook, but I also figured that if something like this happened while I was managing a project for one of my clients, I’d have no choice but to find another contractor to do the work to keep the construction schedule. By chance, while doing some research on fan installations, I came across a company called Classic RV Repair & Restorations that looked like a promising alternative. It being based in Holmes, NY – only 1-1/2 hours away from where I live – made me feel better as well. So I immediately booked an appointment with the owner, George Hernandez, to bring my trailer in to look at and provide me with an estimate. I looked up the business on Airstream Forums, and found that George came highly recommended by people who had worked with him, which was encouraging.
During the drive north, a couple of people flagged me to get my attention, letting me know that there was something loose on the roof of the trailer. After all of the recent traveling I’d done with the Airstream, I figured it was probably something inconsequential like a vent cover that was slightly ajar. So I kept going, thinking we’d take a closer look when I got to the shop. I pulled onto a parkway and there were signs telling me that my vehicle was oversized and I’d need to exit; I found out later that it was because you’re not supposed to drive trailers on parkways – I’d had no idea. Anyway, I took the opportunity to pull over, check the vent covers, and see if I could find anything loose. I couldn’t, so I figured it had to be either the A/C cover or the antenna. I didn’t have a ladder with me to deal with it anyway, so I decided to keep going and drive as slowly and carefully as possible.
Just a few minutes later, a third guy pulled up alongside me and told me that something was flapping on top of the trailer. It was the A/C cover after all. So now I was certain this was a problem I’d need to address before it fell off at high speed. Not really knowing what to do about it, or where I was going to pick up the next highway I could drive a trailer on, I stayed calm and started moving in a direction that seemed right and ended up driving through a quiet suburban neighborhood in New Rochelle, NY.
Suddenly, out of the corner of my eye, I spotted an older man on the sidewalk carrying a 10′ ladder towards his backyard. I found a place to park on the side of the road, and ran after him. I caught him and explained my problem. He didn’t hesitate to help me set up the ladder against a blanket on the side of my trailer so that I could secure the A/C cover with aluminum tape – the whole thing took about 10 minutes. We both remarked at how lucky I was that he’d decided to clean his gutters that morning! After he gave me directions for getting back on the highway, I thanked him and let go a sigh of relief.
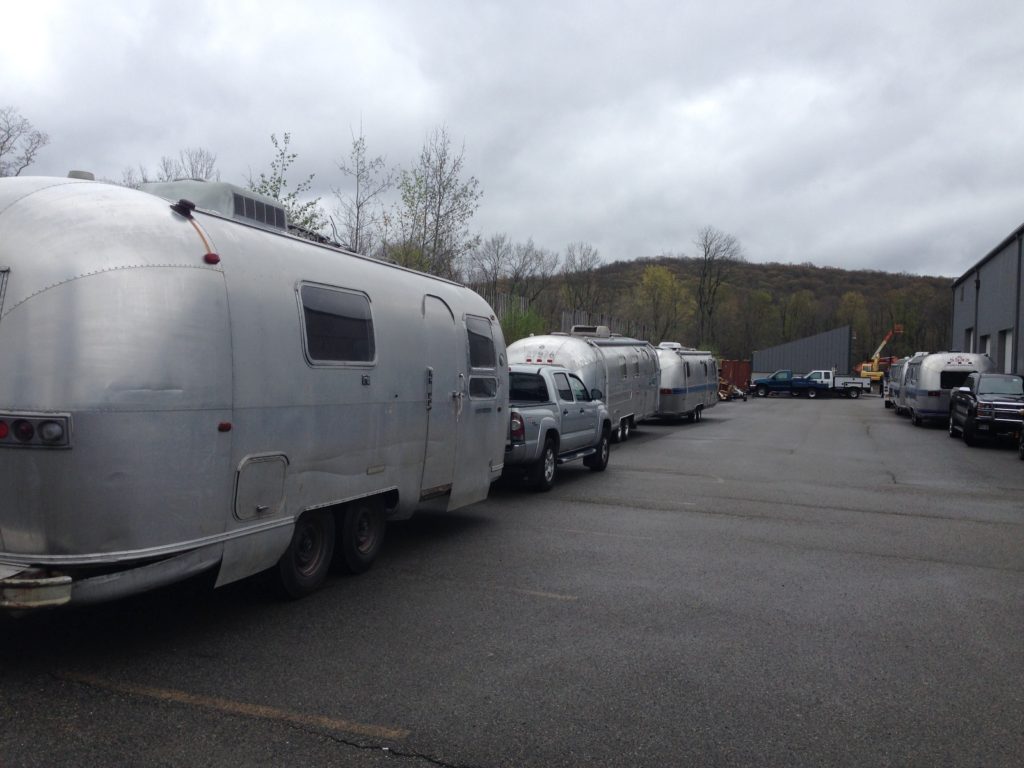
When I got back to my truck, I saw I’d finally gotten an e-mail from Colin, informing me that he wouldn’t be able to work on my Airstream in the near future, citing other commitments. I’d later respond, requesting an idea of when in the future his schedule might free up in the event that my travel schedule is delayed. In that moment, though, I took the timing of his note as a good sign. I had read the situation correctly, had taken the initiative and was exploring my options. About 45 minutes later, I pulled up to George’s shop:
George was quick to start analyzing the areas on the exterior that needed repair, calling out things he saw as he saw them. I quickly realized that I probably hadn’t been clear that I already knew what I wanted him to work on. When I interrupted him and mentioned that I already had a list of things I wanted him to price out for me, we moved the trailer into a garage bay for him to take a closer look while reviewing my list. We casually talked over a couple of things and George noticed I had a window out. He asked if I had the replacement glass, and when I told him yes, he volunteered to install it on the spot. I was game. He started by having his son remove the interior frame of the rough opening:

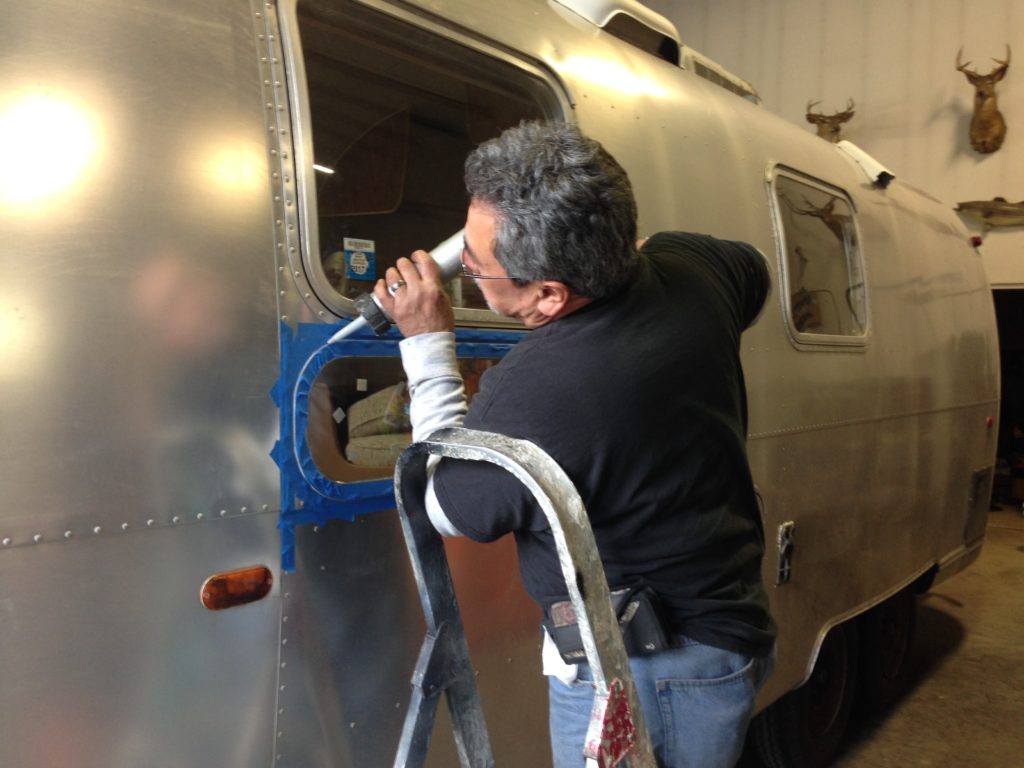
In the meantime, he prepared the new window by putting adhesive along the interior edges of the frame so it would stick to the side of the trailer. He cut holes in the tape at locations where rivets would pass through:
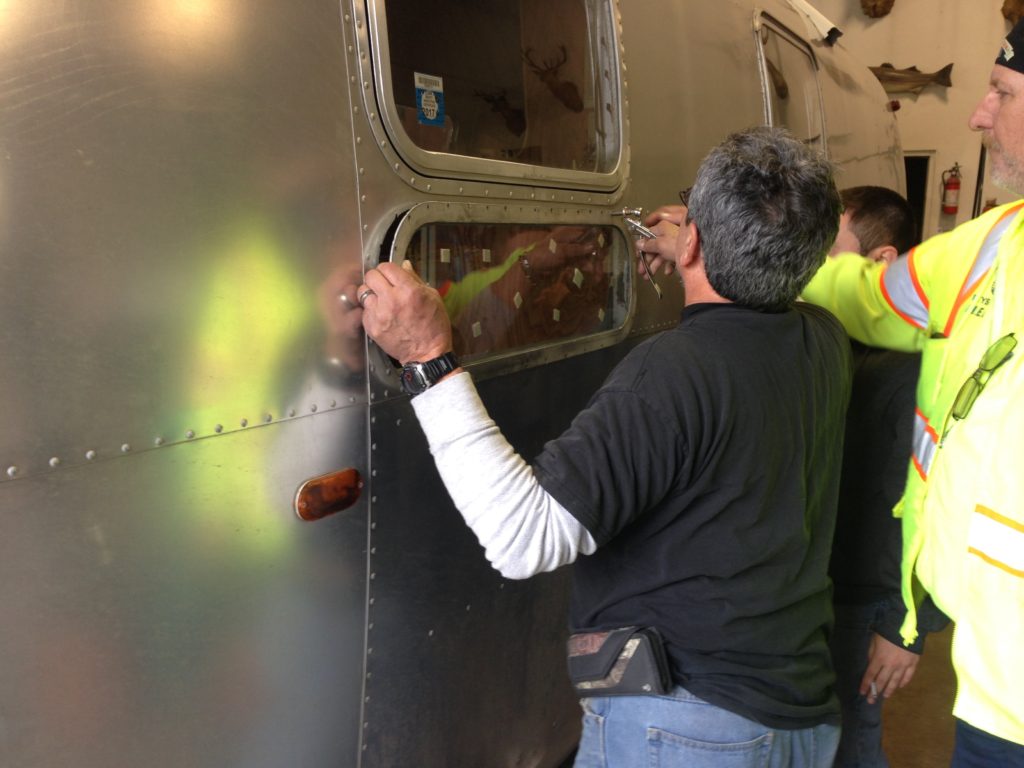
George then set the frame in place against the trailer and fastened it using Olympic rivets:
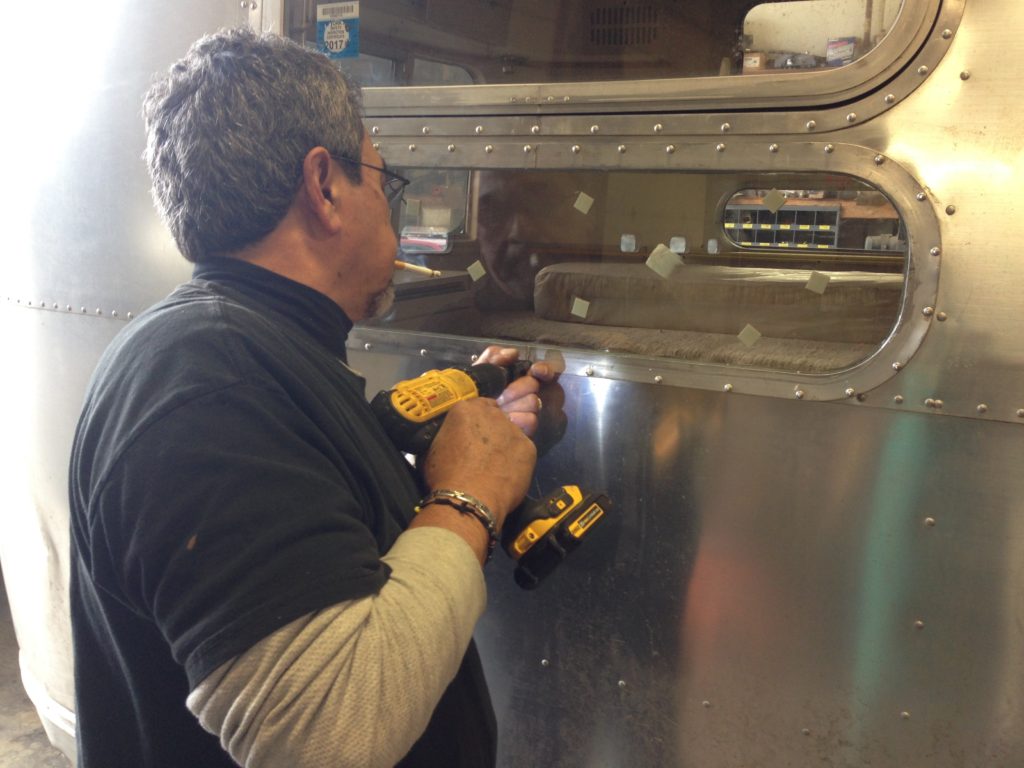
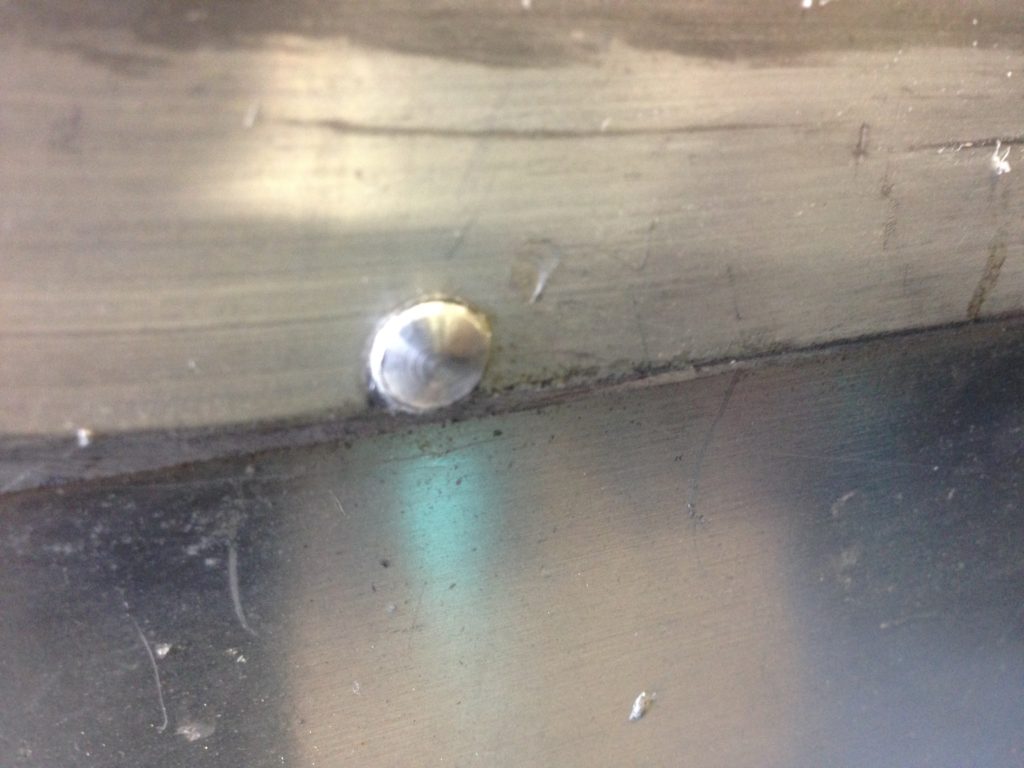
Once all the rivets were in, the mandrels were clipped so that the heads could be shaved:

Using a drill with a rivet head shaver, he cleaned up all of the rivets…
…until they looked like this:
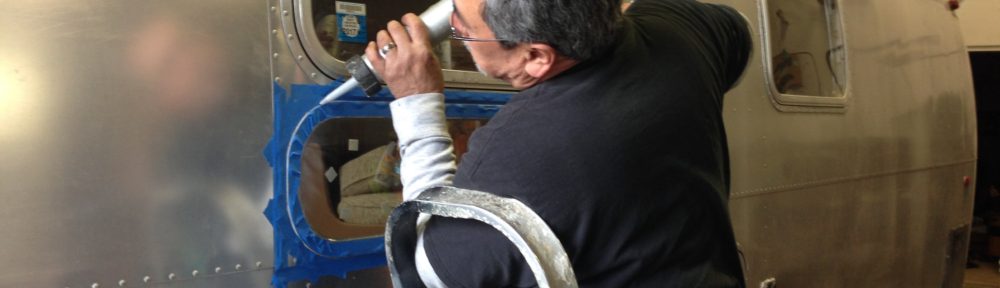
 Lastly, he sealed both the interior and exterior edges of the window using Sikaflex 221 (aluminum gray color), and then re-installed the interior window frame.
 The window installation took about an hour, and then I wanted to get back to the estimate for the work. As we talked about it, I came to realize that, despite seeing the trailer and talking with me about the work he needed to actually sit down and do calculations for both parts and labor; it wasn’t something he could do off of the top of his head. Which made sense and was fine. However, he wanted to charge me for the hour he’d spent looking at the trailer, on top of the hour he spent fixing the window. From my construction experience, I’m not used to being billed by a subcontractor to prepare an estimate, and this cost hadn’t been mentioned to me over the phone before I came or upon my arrival at the shop.
I protested, but left things with George on a good note, paying for the “extra” hour in the spirit of starting off on the right foot. What I later came to find out (and will keep in mind for the future) is that George’s usual practice is to prepare an estimate and bill clients for the hour-and-a-half it takes to do it. Then, if you hire him to do the work, this cost is reimbursed. I understand that this policy is intended to protect him and his valuable time. In the short time I was at the shop, it was clear to me that George also puts a great deal of care and skill into his work, which I appreciate. In the end, I was happy that the window was installed (although I would have waited a month if I knew what I know now) and I learned a couple of things about the trailer from his looking at it that will save me some money. My next step will be to revise the scope of work I want to give him and get a formal estimate, then book an appointment with him for this coming June. Fingers crossed!
Up Next: Removing the belly pan
Visit the Little Green Airstream’s Facebook page for additional photos of my visit to Classic RV Repair & Restorations


Super interesting overall, and very fortuitous finding the old guy with the ladder! 🙂