One of my favorite maxims (attributed to branding entrepreneur Steve Stoute) is, “Don’t let what you can’t do stop you from doing what you can.”
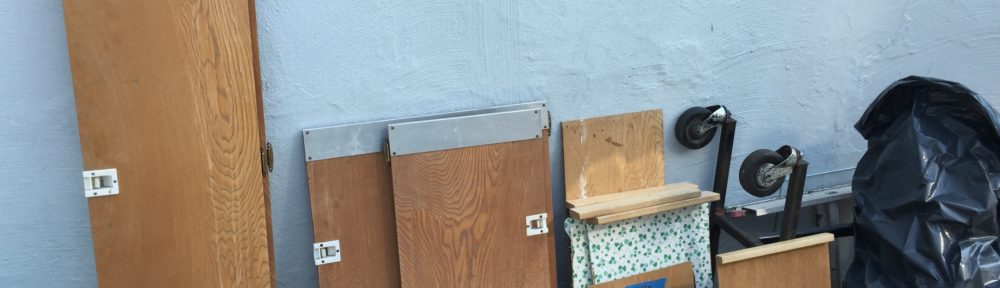
I’d anticipated that my trailer would be with a contractor for at least a month or two, while tasks were completed that are not part of my skill set. So, last Spring I’d removed some of the original woodwork, window screen frames, and other assorted hardware so that I could repair and refinish them at home in the meantime. This way, I could make the most of my time and accelerate my construction schedule.
Most of the varnish on the doors had worn away around the foot-to-shin level, where it was easy to hit with your feet moving around in the small space. Any cabinet hardware made of plastic had become brittle with age and was often either broken when I bought the trailer or broke while I was fiddling around with testing it, so that would need to be replaced. And it was apparent that the trailer had had some leaks over the years due to irregular maintenance, so some of the plywood cabinetry had warped or delaminated.
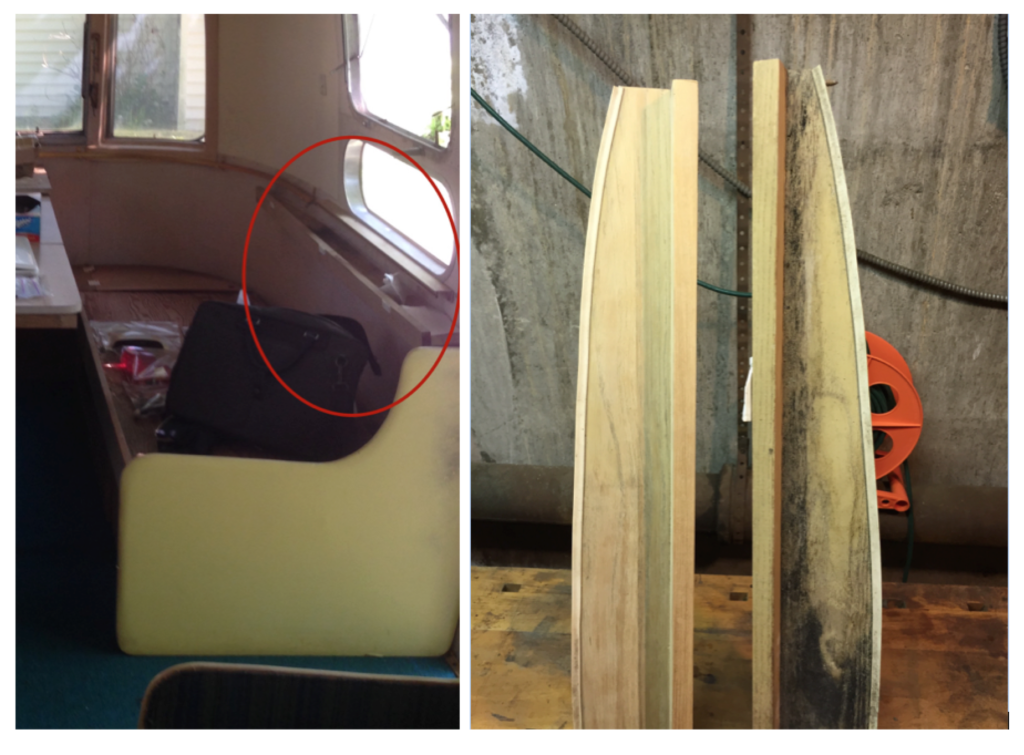
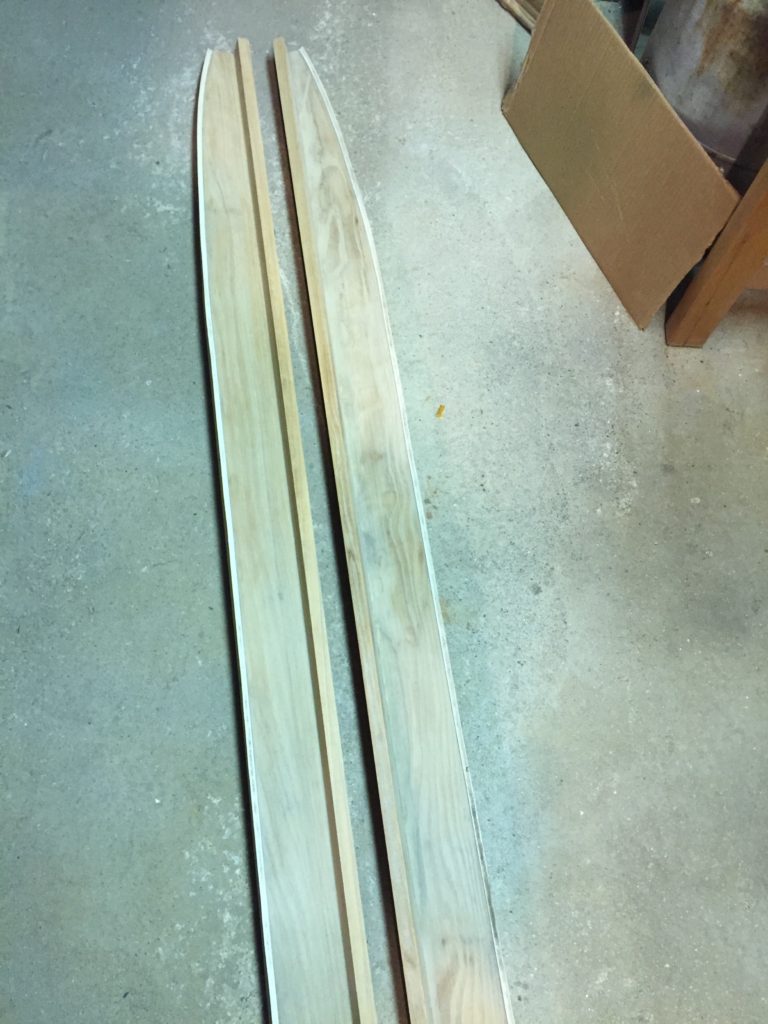
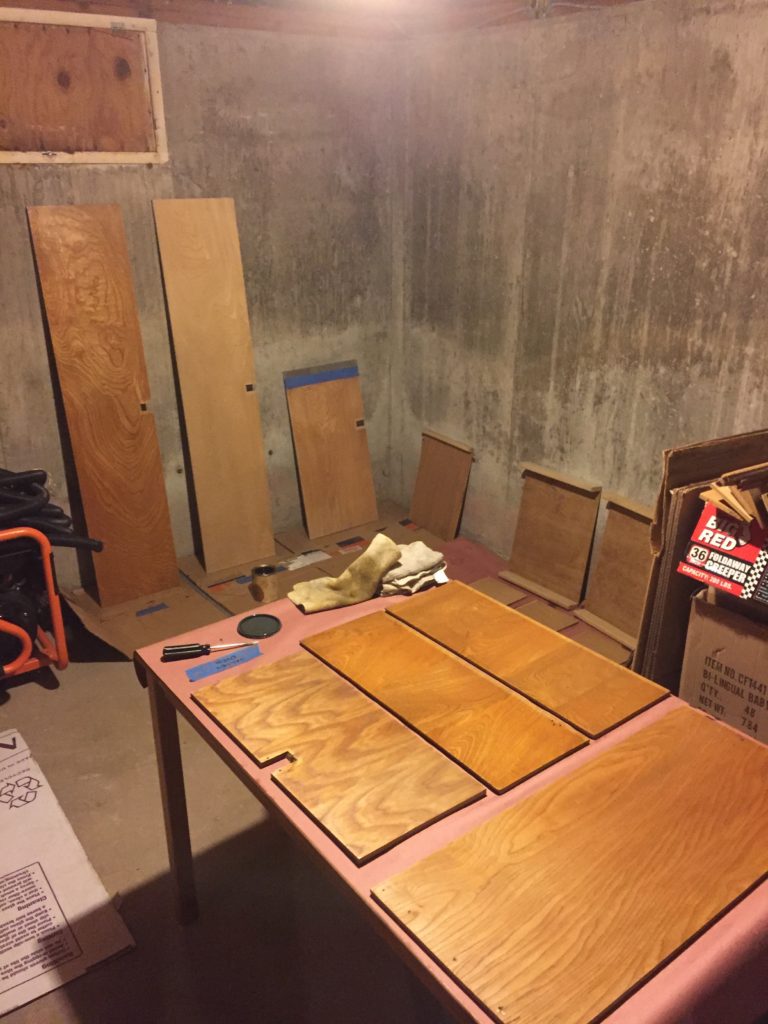
For this phase of construction, I limited the wood refinishing work to any cabinet & closet doors throughout, the Bathroom shelves, and two supports for the Dinette seat backs. The shelves in the Galley / Bedroom area in the center of the trailer are generally fixed in place (nailed and / or glued), so I didn’t take them out, and I’ll likely refinish them after I hit the road. The frames for all of the built-ins – which in my case include the front Dinette seats, Galley sink cabinetry, Gaucho sofa bed, and closet frames – will most likely be refinished (or replaced?) during Phase 2 of construction or perhaps when I have a little down time.
While I was in North Carolina around this time, I took the opportunity to pick up some supplies. I’d recently taken a beginner’s class at Yestermorrow on how to make cabinets & built-ins that gave me greater insight on how these pieces were fabricated and perhaps might be replaced in the future. It was during this class that I was introduced to a product that I was very interested in using to refinish the cabinets and built-ins on my Airstream, Tried and True varnish oil. It’s one of my favorite green building products. It was described to my class as a product that’s so green, it’s *almost* edible, and to me it smells like something you’d put on your oatmeal. When my classmates & I applied it to our final project, it was a pleasure to work with and looked great, so I was really looking forward to using it again – but first I’d need to prepare the wood.
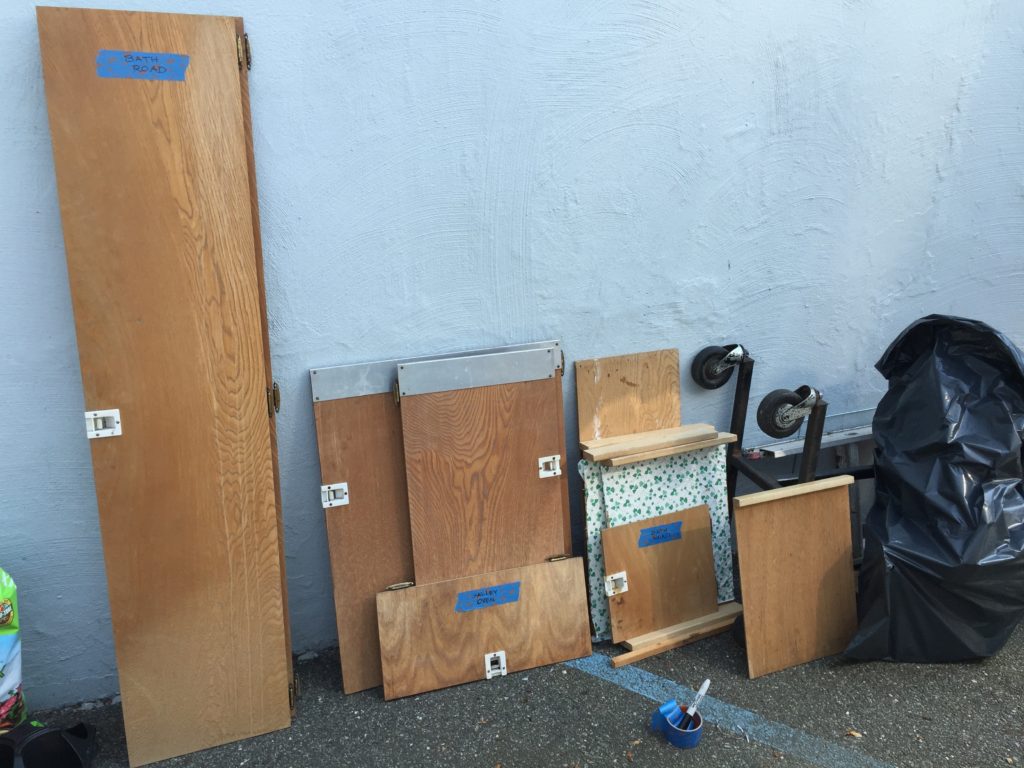
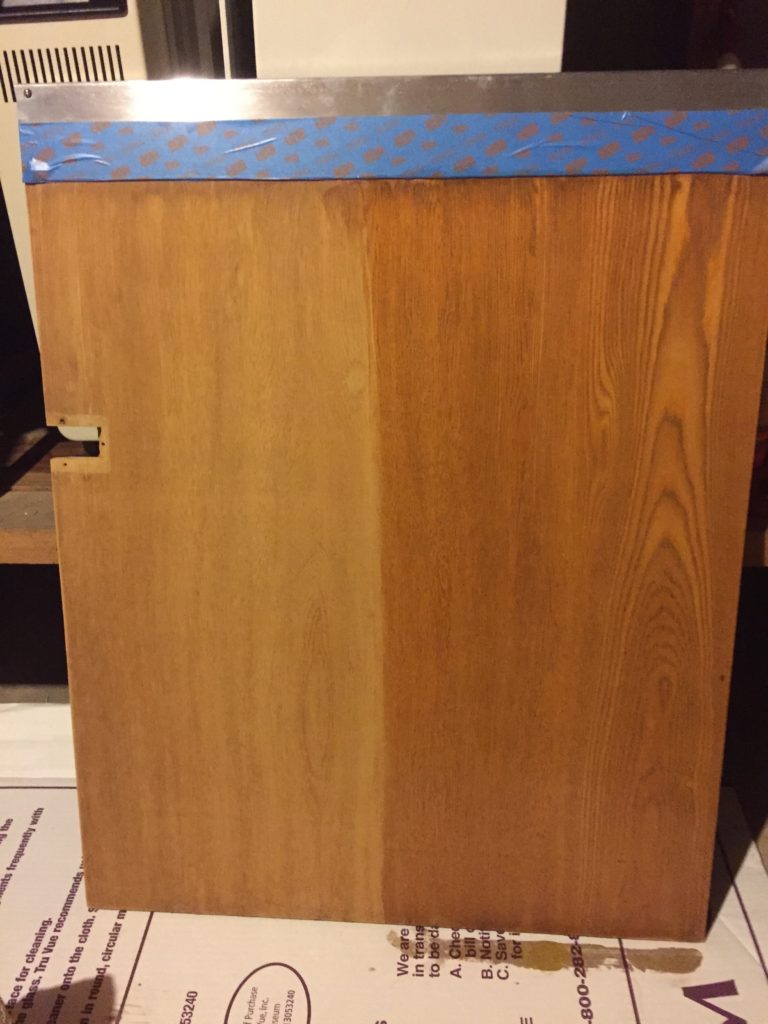
To do that, I went to a woodworking shop called Klingspor’s in Hickory, NC to pick up sandpaper, wood glue, and the Tried & True varnish. I brought along one of the cabinet doors that was in the worst shape as a sample, and looking at it, the clerk recommended that I pick up some pine-colored wood filler to help give some structural integrity in certain areas and fill little nail holes. We noted that the veneers on the cabinet doors were super thin, so he recommended 240-grit sandpaper to remove the existing finish and help ensure that I didn’t sand the entire face off.
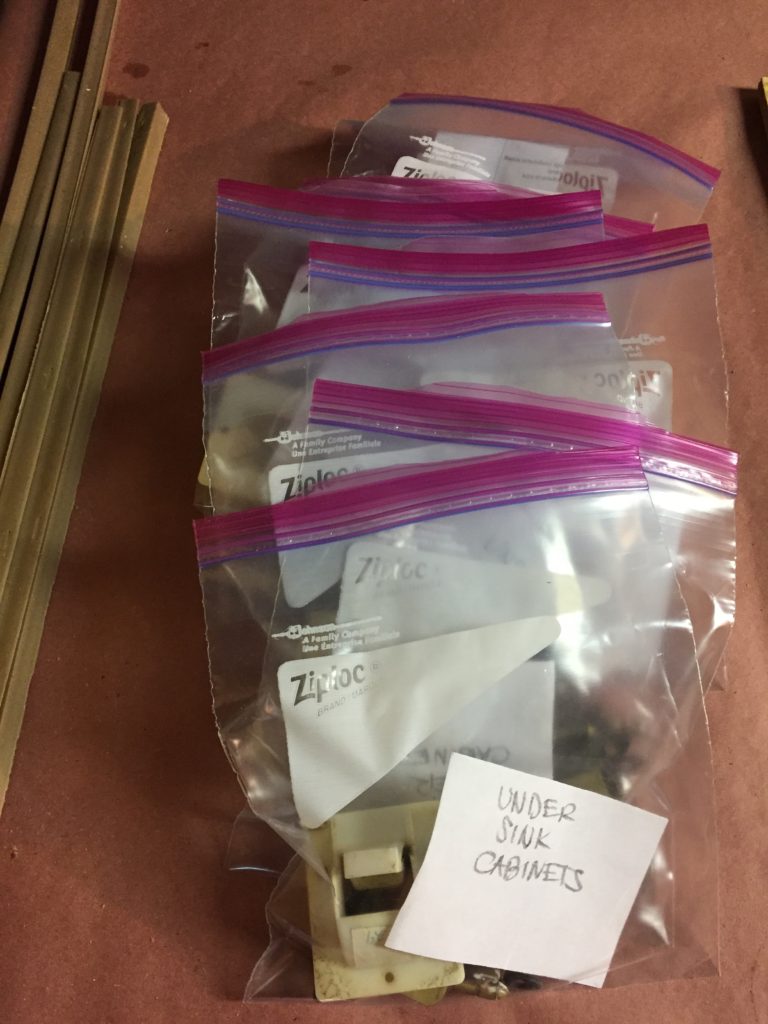
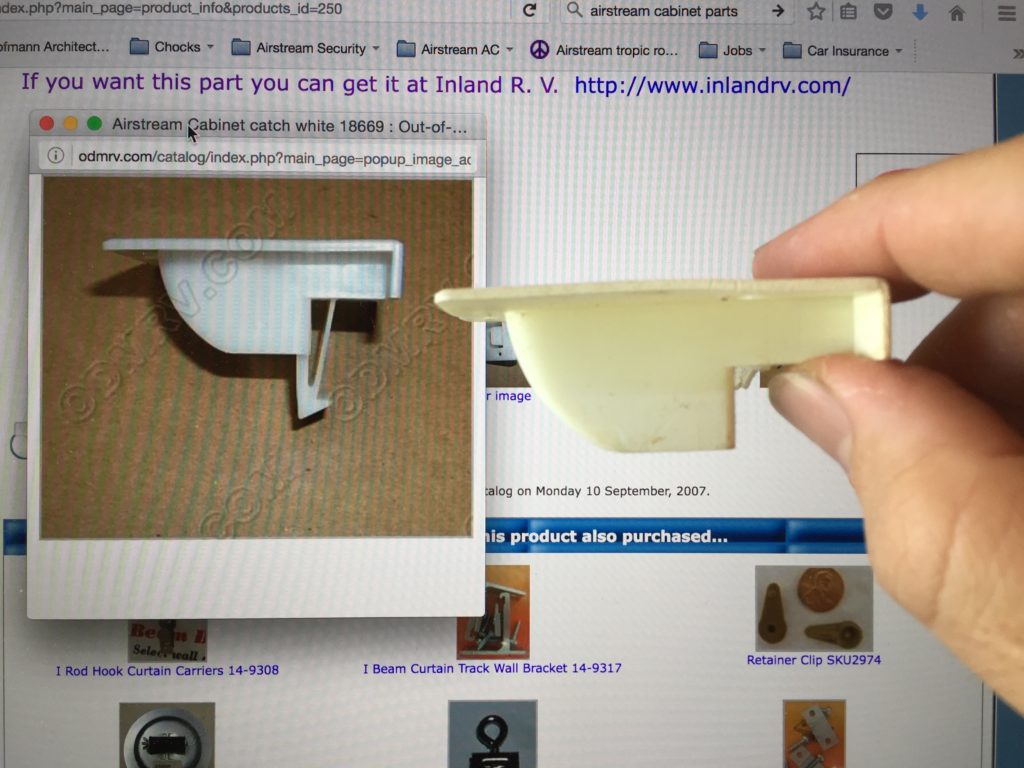
Once I had my supplies, the next order of business was to remove, label and set aside all of the hardware that’s attached to the cabinetry. That basically consists of handles, hinges and catches. I made a list of all the broken or worn parts to be ordered from trailer part suppliers later (see Vendors), and added it to my budget.
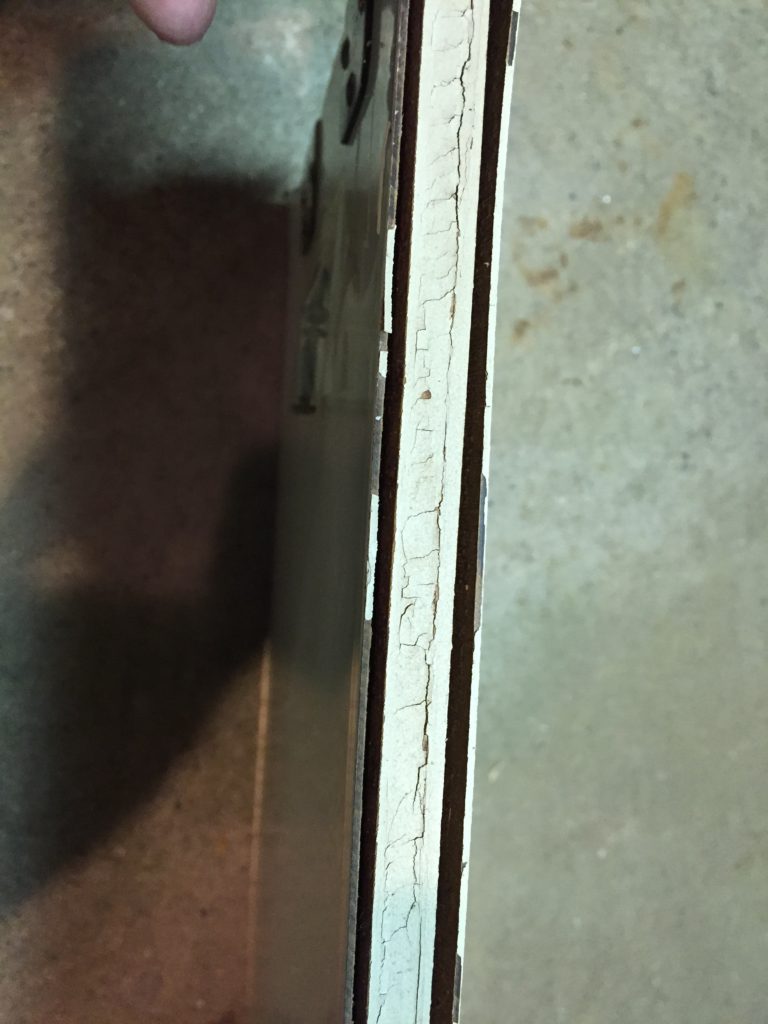
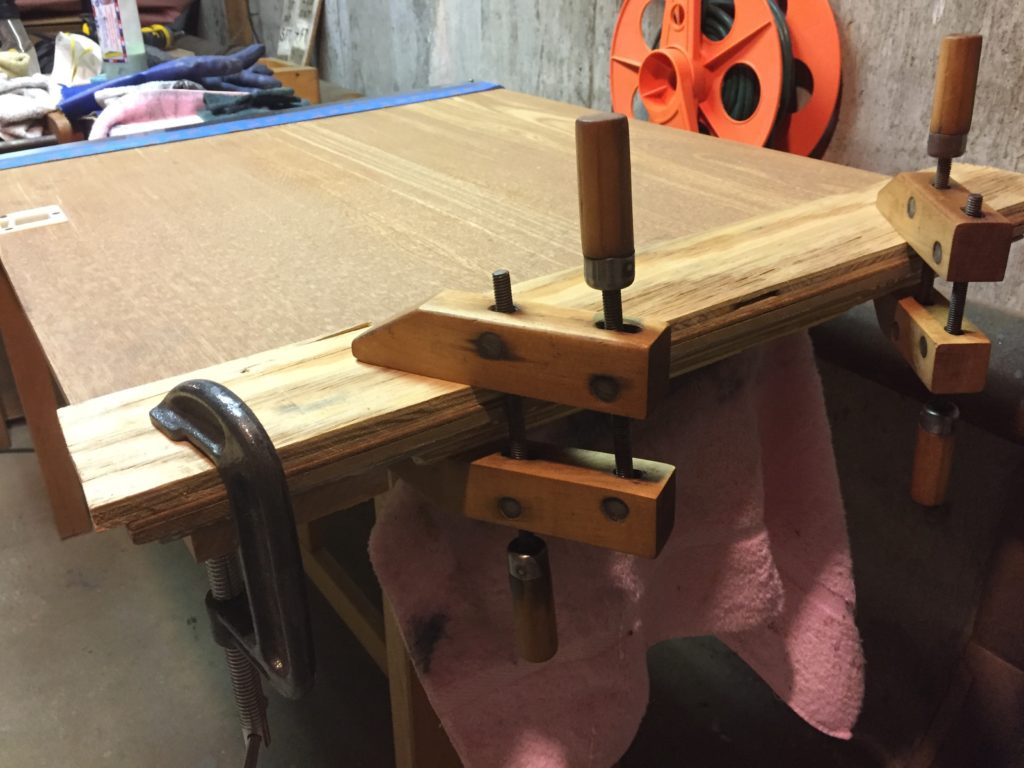
Then I needed to glue together any pieces that were delaminating or otherwise separating, and there were several. Because I don’t have many clamps, this took some time, but the glue dried fairly quickly and I could also sand pieces that were ready while the glue was setting on others.
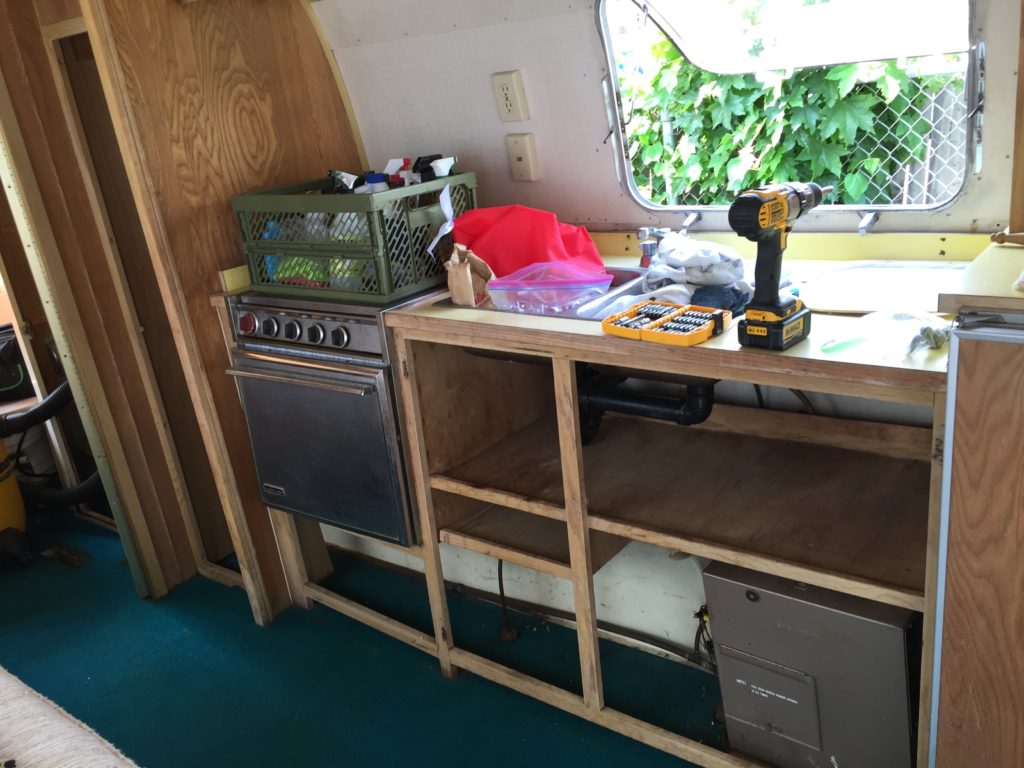
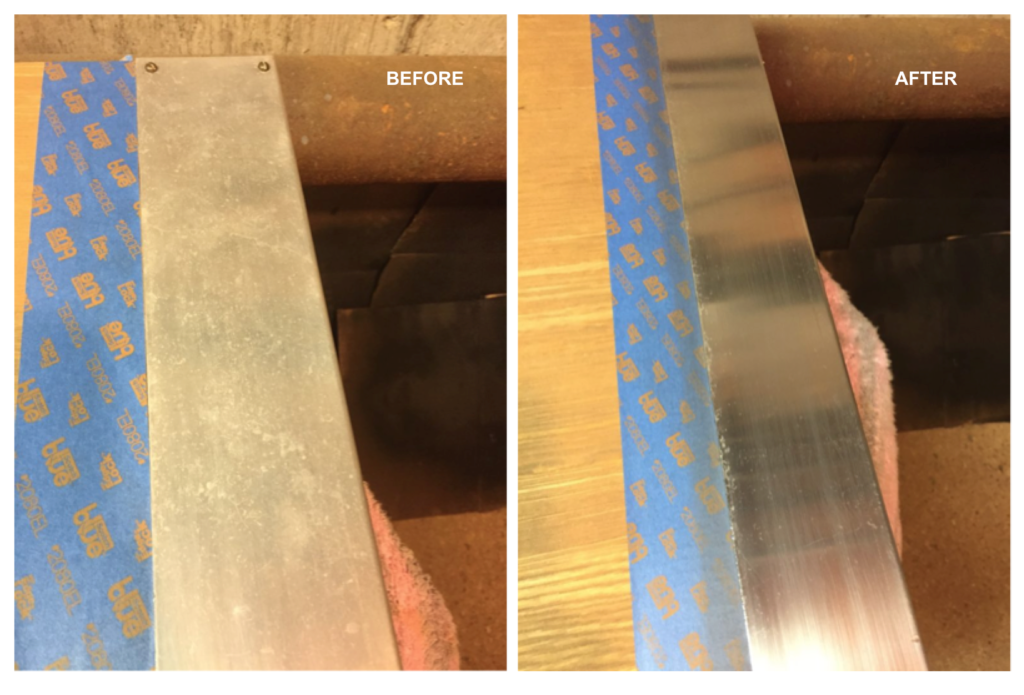
The cabinet doors under the Galley sink are clad in stainless steel at the top because those doors are presumably handled frequently by wet hands. I arbitrarily decided to clean the metal first, but in retrospect I might have saved it until after the woodwork was finished. I’ll still give the steel a final cleaning later on.
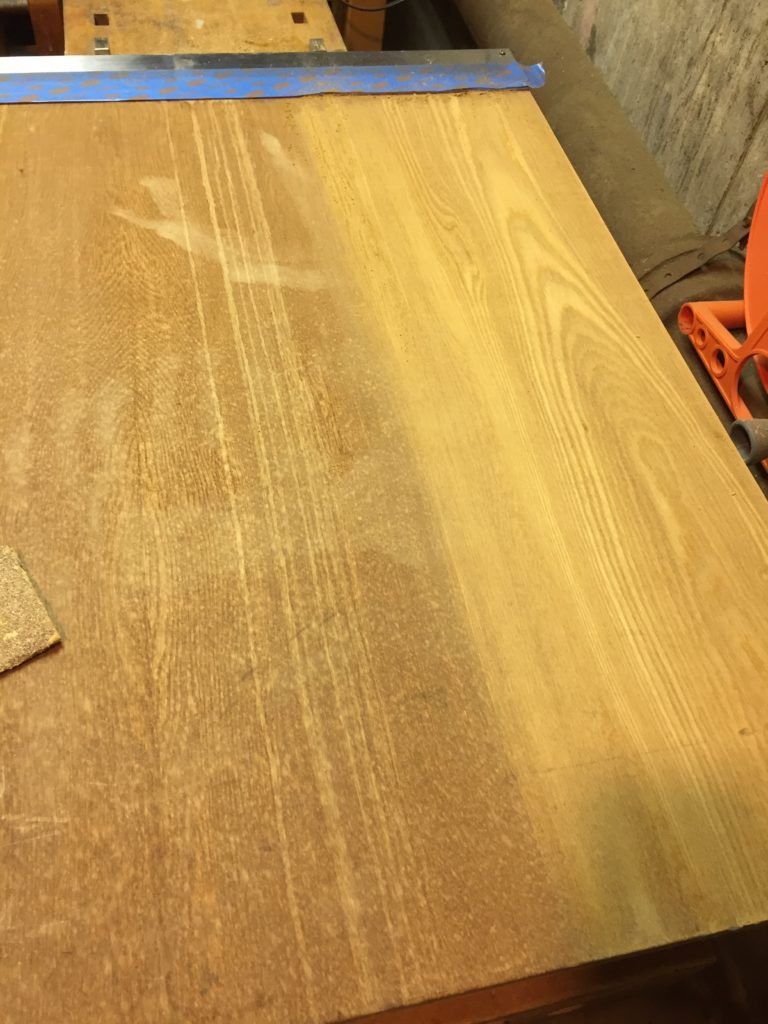
The sanding was straightforward. I ended up using two different types of sandpaper, for the most part. For areas where I could see there was still some original varnish, I used an 80-grit sandpaper and finished everything with a 240-grit paper. I followed the grain, worked evenly (although a bit more delicately where varnish had already been removed), and took my time.
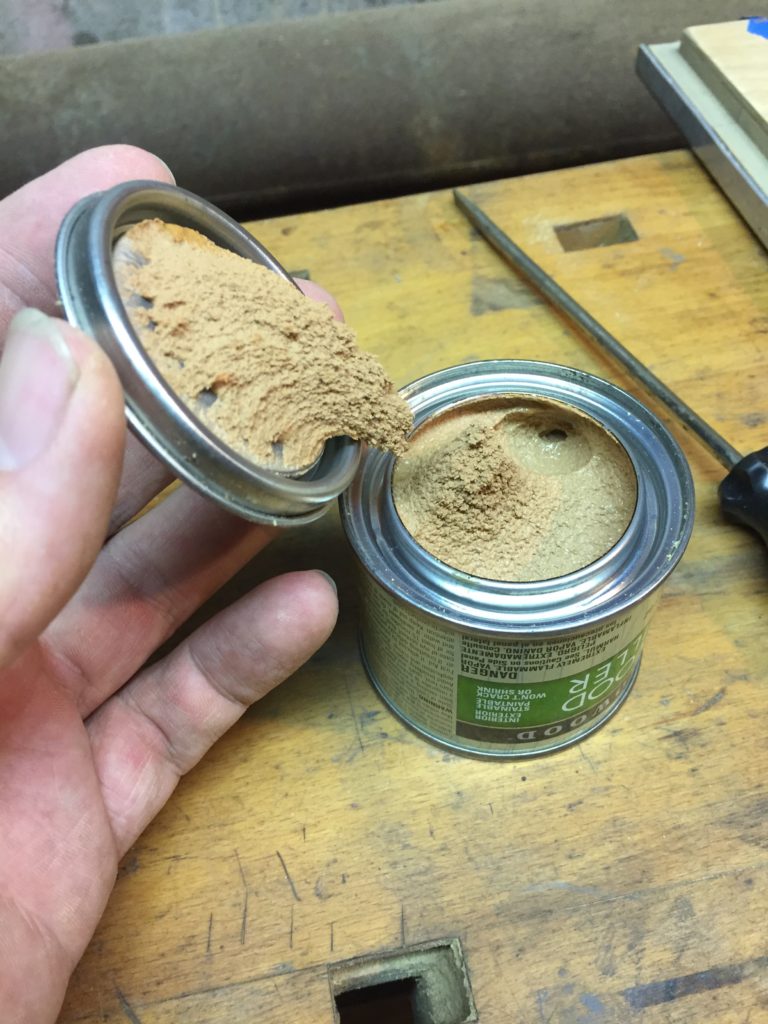
Next, I used the wood filler to patch a few nail holes that previous owners had made, installing odd hooks or cabinet hardware that I removed or was going to replace:
And then it was time to apply the varnish oil. I was really happy for this part of the process! The varnish oil takes a while to apply. In a classroom setting, we applied something like 7 coats in 15-20 minute intervals. However, the manufacturer recommends that coats be applied in 24-hour intervals, and that you wipe down the wood with a clean rag 1 hour after applying each coat to help the wood absorb the oil & dry evenly. I’d take the manufacturer-recommended approach. Also, I will apply 4 coats of varnish to the exterior and 2 coats to the sides and interiors of the cabinet doors and both the tops & bottoms of shelves, which I don’t believe that Airstream did originally. Once the final coat is applied and hardened to the touch, you’re to rub or burnish the oil into the wood with very fine 0000 steel wool to complete the finish.
Here’s everything I used to refinish the wood:
Tools:
- Personal protective equipment (PPE): Gloves, eyewear, dust mask
- Sandpaper (80- and 240-grit)
- Screwdrivers (for removing hardware)
- Paint scraper (for removing old, chipped paint and removing excess glue)
- Painter’s tape
- Clean, lint-free rags (for applying varnish & wiping up excess glue)
- Steel wool 0000
Products:
- Titebond translucent wood glue
- Famowood Original wood filler (Pine color)
- Tried & True varnish oil
- Gord’s polish
Time: 2 days +/- of preparation, and 6 days +/- finishing
The next step in this process is to paint the edges of a couple of the bath cabinet doors, replace the cabinet hardware and install the finished product.
Up Next: Updating a Vintage Airstream plumbing system
Visit the Little Green Airstream’s Facebook page for more photos of the renovation in action!


As your project continues, I have come to realize the exquisite patience needed to properly complete the work. I greatly admire your talent and creativity. Can’t wait to see the end result.
Thank you for saying that : ) You know, when I’ve discussed this project with people over the past few years, a few have said to me that it’ll be “so much work.”
The implication was that it would be more than they would be willing or prepared to take on, no matter how cool having an Airstream might sound. And that’s fine. It IS quite a lot of work, which to me has been part of the point. For me, embarking on (and documenting) this journey is meant to be a learning process that’s both out of my comfort zone and fun!
What’s helped me find that patience you mention is often simply enjoying the process. Some tasks are easier to enjoy than others, of course. But I’ve found that I can almost always enjoy the hard work and frustrations on some level, when I remember that each step is a learning process that I a) signed up for and b) am capable of seeing through to a reasonable result. I also acknowledge that every little thing I do to move the project forward is something that I can enjoy every time I look at or use the Airstream, as well as a skill I’m honing in my personal tool box.
Looking forward to seeing you down the road, and showing you some of the details! : )