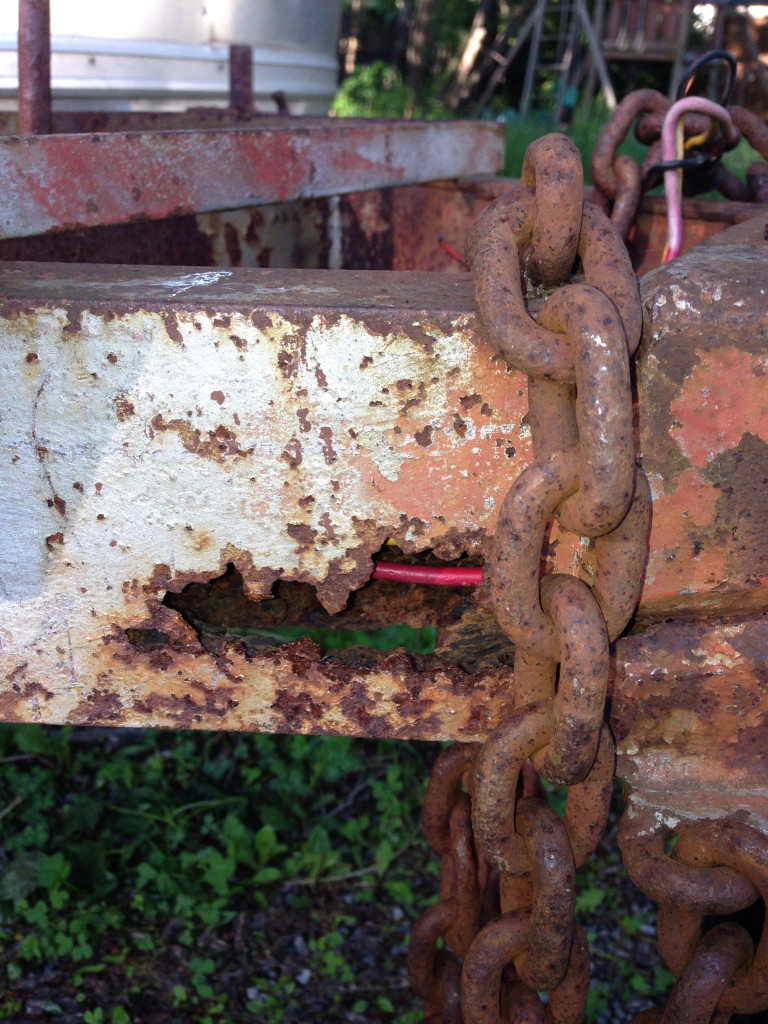
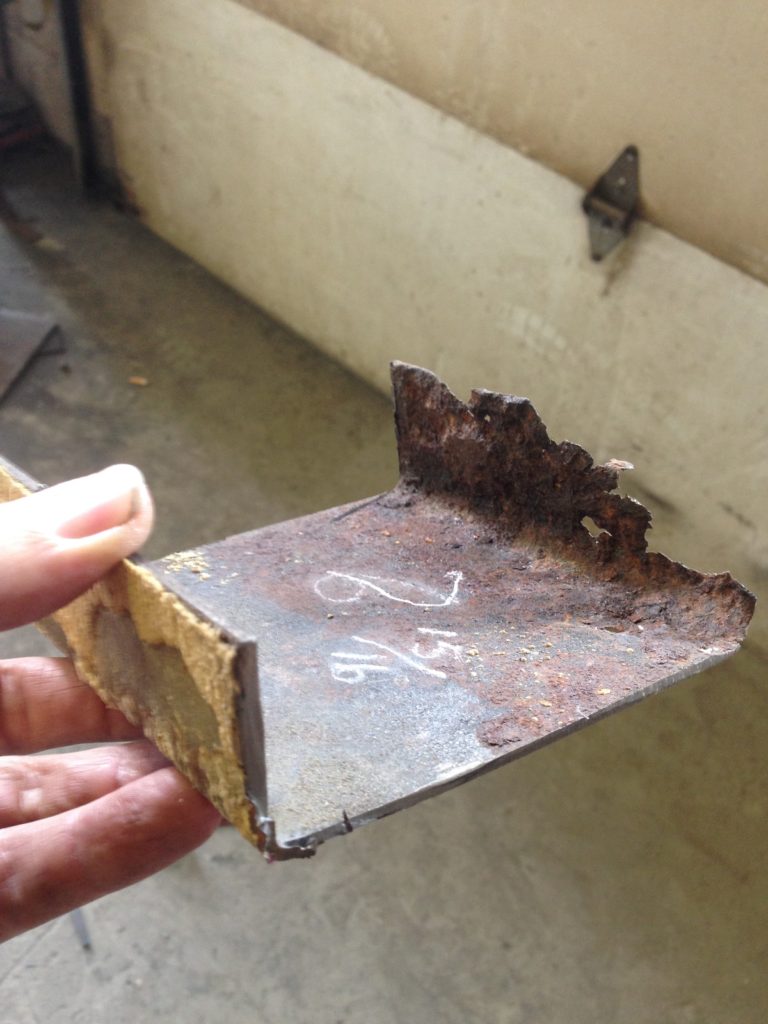
My next step was to address a problem with the frame of my Airstream. A couple of years ago when I’d first bought the trailer, I gave it a good cleaning and did a basic inventory of items that needed repair. One of the things I’d noticed was that the A-frame (consisting of the A-shaped steel members at the front of the trailer and the coupler that accepts the ball you tow with) had rusted out badly in one area. The rusted out part was relatively small (maybe 2″ x 4″), and I’d towed the trailer safely home to NY from Massachusetts, so I wasn’t terribly concerned about it… but then again it was in an area that handles quite a bit of stress, so I took a mental note to ask around for a second opinion.
Knowing that at some point in the future I’ll want to do a shell-off restoration of the trailer that would involve repair and re-painting of the entire chassis (the vehicular steel frame), I was looking to keep this repair as simple and straightforward as possible. I imagined cutting away the rusted material and welding on new steel replacement, then sandblasting the A-frame and giving it a quick prime and paint. Instead of cutting away the old material, one trailer professional had recommended I simply weld a steel patch over the rusted area for $150 and call it a day. I held off, sensing I’d better ask someone else.
Thinking I might get a better price on my full scope of work out of town, I contacted Yestermorrow Design / Build School in Vermont (where I studied and started this project) to see if one of their instructors could handle this project. After a couple of phone calls and e-mails where I shared some thoughts and photos of the work to be done, I was put in touch with someone qualified that quoted me a reasonable price. A couple of weeks later, I started out on the road for the longest trip I’ve taken so far with the trailer.
The 7-hour trip through a minor snowstorm required all of my attention, and I noticed the trailer rocking back and forth more than usual a few times during the journey. I found myself understanding better how many different situations could cause the trailer to sway and make my truck drift off to one side or the other. I was glad to have recently purchased a sway control hitch and I’m eager to compare the difference once it’s installed. I got there safely and we took a look at the rust damage the following morning.
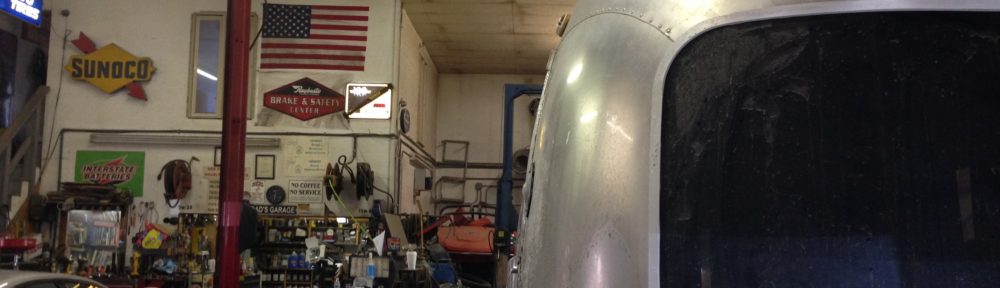
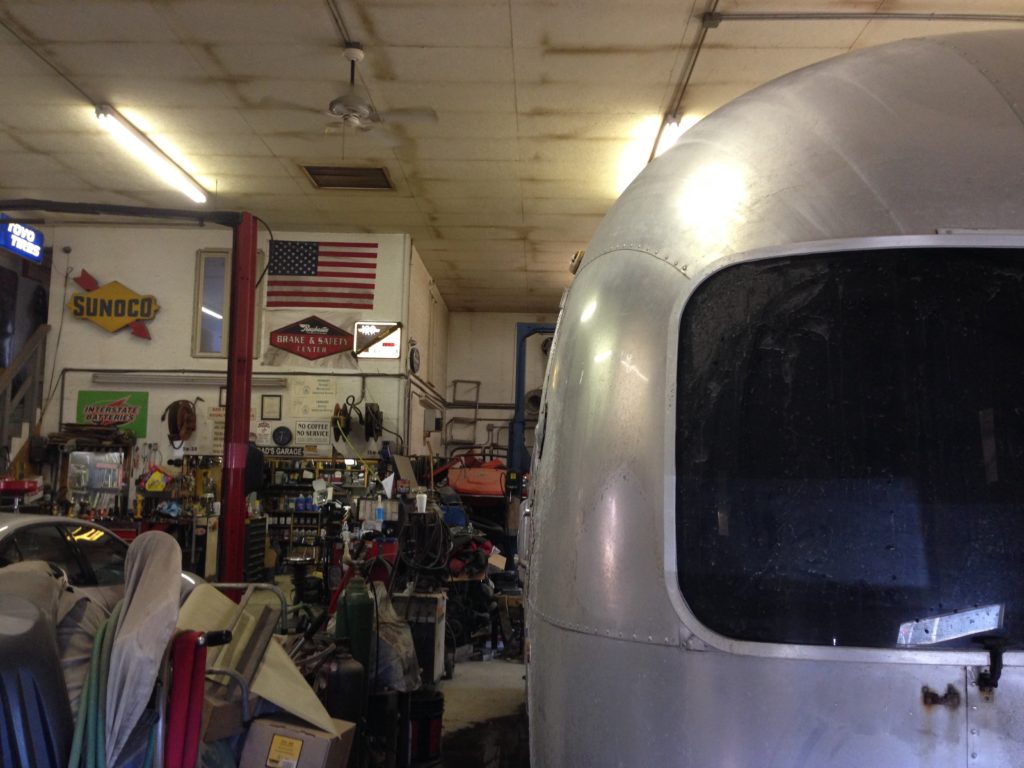
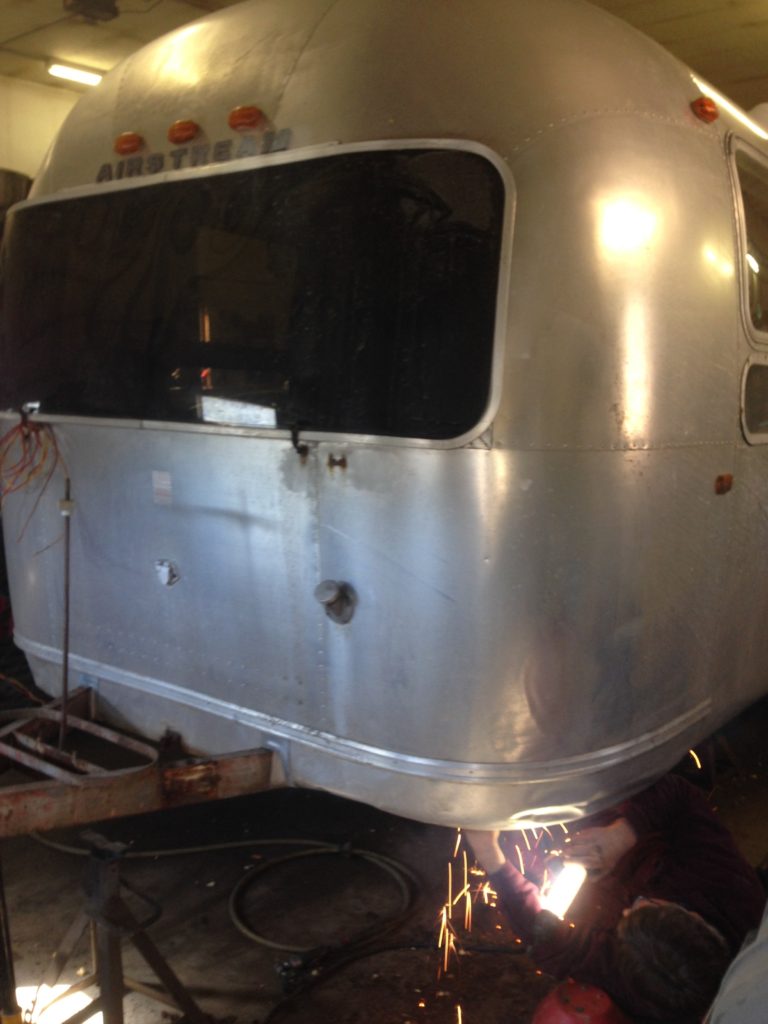
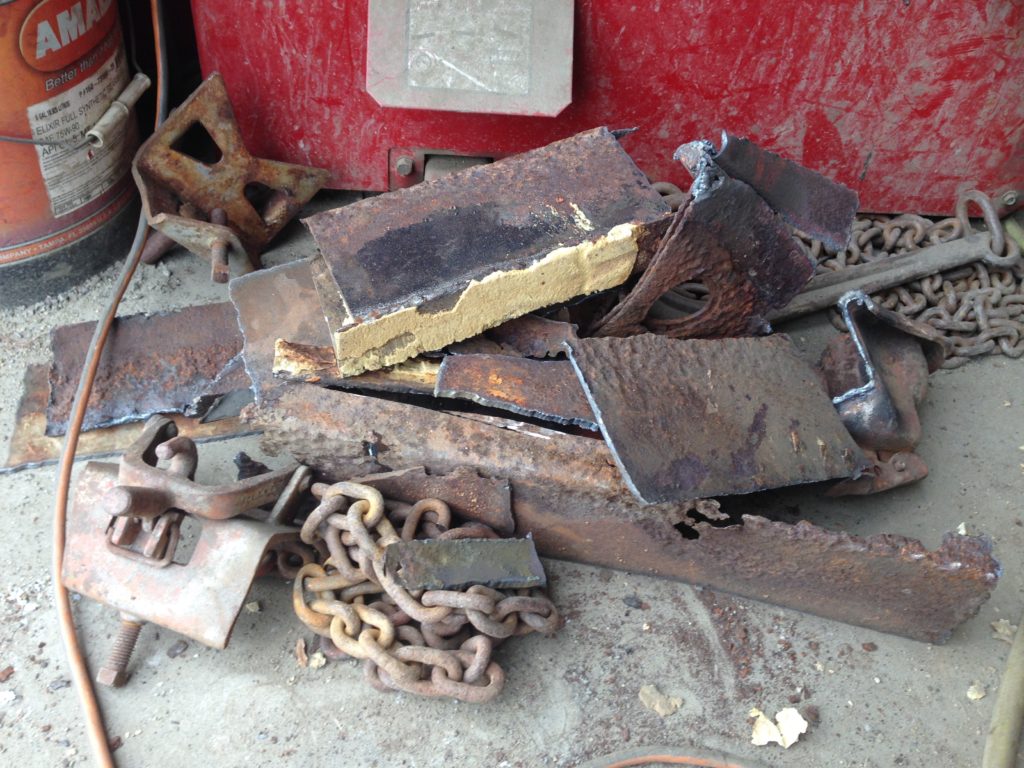
Seeing the damage in pictures by e-mail was one thing, but once he saw it in person, it didn’t take the welder [who asked not to be named] long to suggest that we have a look underneath the trailer at the chassis for safety’s sake, with my permission. I agreed. He took off a couple of the front belly panels to have a better look, and piles of road dirt, old insulating foam, and rust particles fell out. It didn’t take him long to determine that the steel channels that make up the chassis were badly rusted going back 5′ on the curb side and 2′ on the road side.
He asked if I’d noticed that the trailer was rocking back and forth during my trip and when I told him I had, he told me he thought it was likely due to the remaining steel torquing under the strain. If I had hit a pothole the wrong way, he said, it’s possible my trailer could have gone one way and I would have gone another. We laughed – I thought he was exaggerating a bit. He asked me how I wanted to proceed at this point, and after looking at the rust damage underneath the trailer we agreed that the chassis needed repair as well; it just wouldn’t be safe or smart to neglect. The work would take another couple of days.
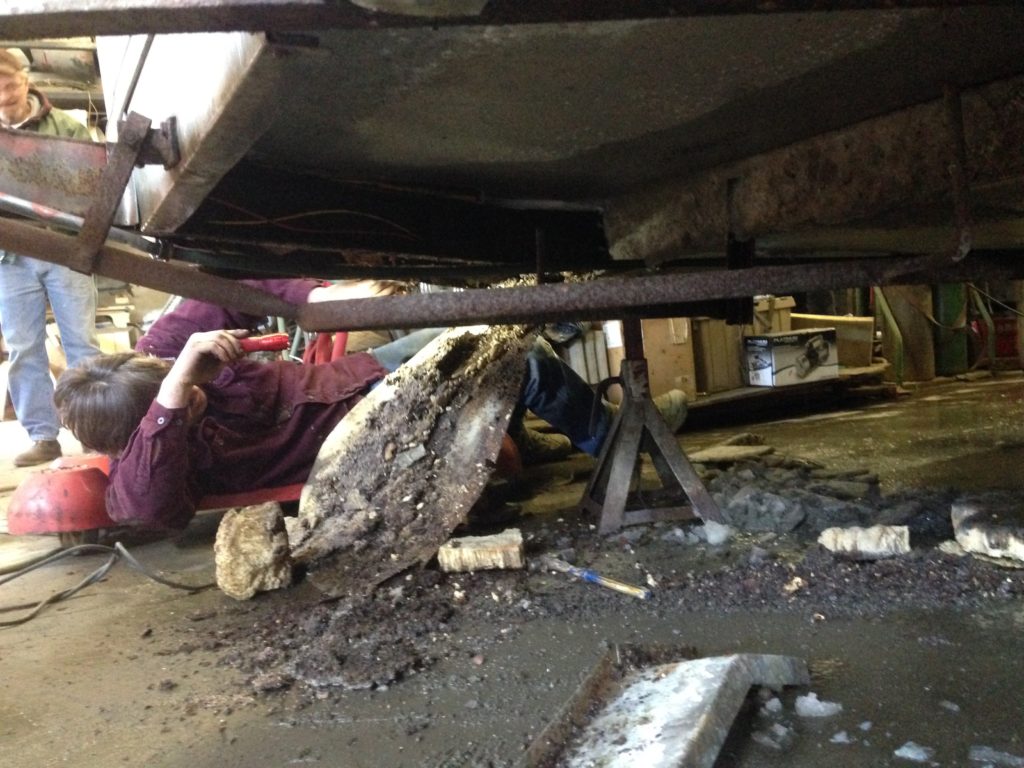
Since I was going to be there for an extra couple of days anyway, I wanted to put myself to work. Although most shopkeepers wouldn’t ever let you do this for insurance reasons alone, I asked if I could work beside him underneath the trailer and remove the old foam insulation that coated the now-exposed subfloor, and was gratefully surprised when he agreed. He seemed to respect that I cared about the quality of work that he was going to do and was willing to get my hands dirty.
As a sidebar, the 1969 Airstream (I’m not sure how many other years this applies to) was coated on the underside with spray foam insulation. According to Wikipedia, this product had been used for military purposes starting in the 1940’s, and in 1969 would have been a brand new application to the general public. One problem that wasn’t anticipated at the time – setting aside any green building concerns related to this material – was that it tended to hold onto moisture from rain or snow that would seep in through seams along the body, and hold it against the steel chassis, causing it to rust more than it would otherwise.
Again, since I knew that I’ll want to do a shell-off restoration of the chassis and subfloor in the future, taking off the panels underneath the trailer and removing the old foam would allow me to get a good look at the condition of the chassis to better estimate the work to be done, get the old foam away from the steel, and it would allow me to better protect the trailer from small rodents entering from below. So to remove the belly panels (which I confirmed with pro restorer Colin Hyde could be thrown away as scrap) and get rid of the foam on my own, I knew would save me between $2,000 – $3,000 dollars. As long as I was sinking a couple of days more time and money into the welding, it made sense that I should leverage the opportunity and double the amount of work being done. Time to get down & dirty!
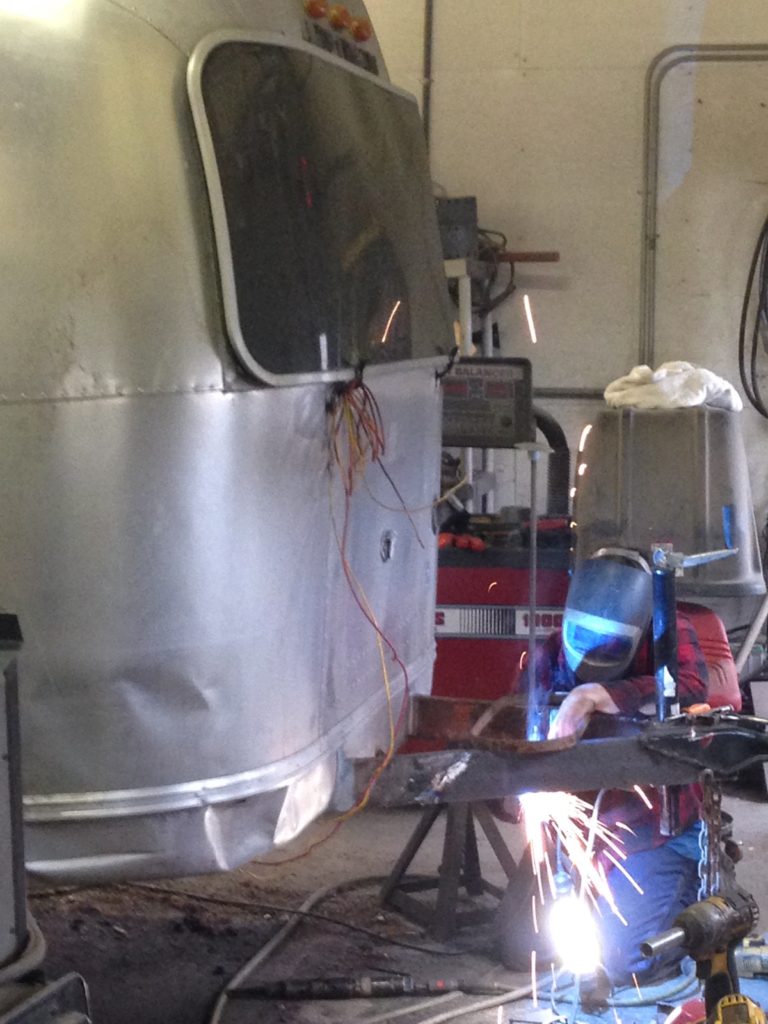
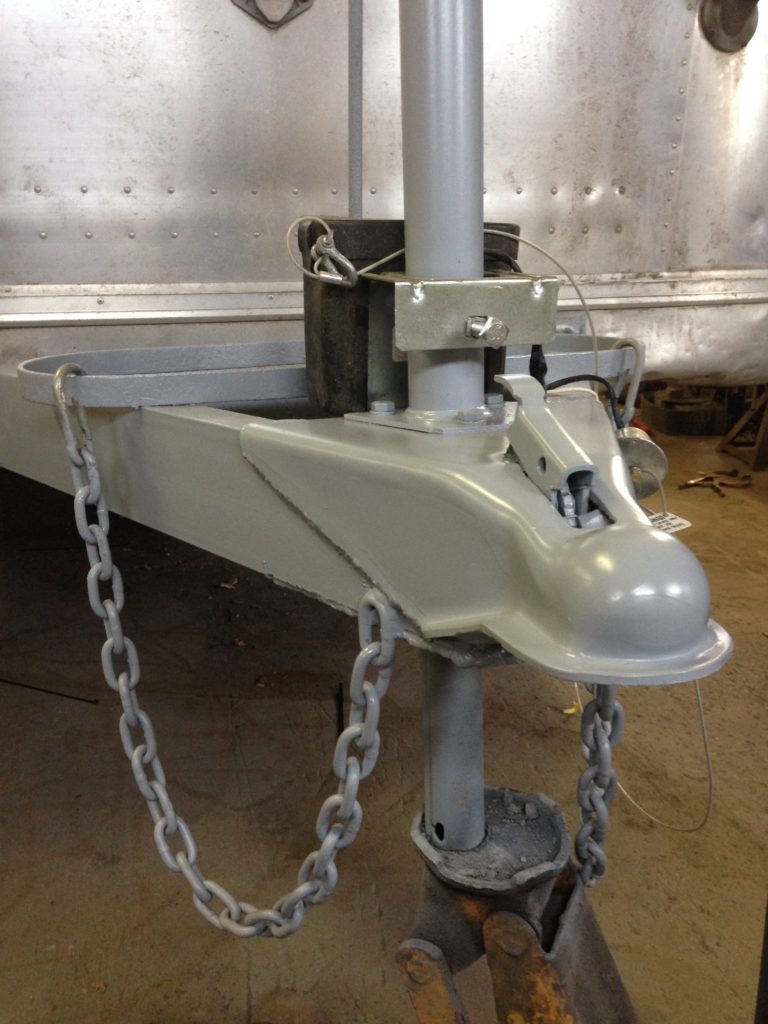
While I spent about a day-and-a-half removing the old spray foam with a crowbar – the old material reminded me of large bath sponges – the welder went to work removing the rusted material, repairing the A-frame, installing a new 2-5/16″ coupler to replace my old 2″, and purchasing new 1/4″ replacement steel channeling. The larger size of the new coupler ended up working in my favor – I’d needed a 2-5/16″ ball to work with my new sway control hitch and hadn’t known it. Meanwhile, I removed about 3 garbage pails full of the foam and put it into the dumpster, getting about half of that work done. Removing the foam made it easier for the welder to move around, too. At the end of the day when I was sweeping up, we were surprised to realize that a colony of ants had made their home in the foam as well – another reason I was happy to get this done now!
Over the course of the few days I was there, a number of locals came in to visit, either with business, to see if they could help the owner, or simply to chat. Many of them were appreciative of the Airstream, asking what year it was, where I’d come from, and usually noting that, “these things are worth a lot of money!”
I usually grinned and thanked them for their appreciation, shared a couple of jokes, and noted on the other hand that people don’t often consider how much time and money goes into bringing vintage Airstreams back to life! The welder told me that a few of his customers had said to him (when I wasn’t there, of course) that they wouldn’t have towed the trailer to the next town – much less from Long Island during a snowstorm – having seen the amount of rust damage that had occurred along the frame. And I’d thought he’d been exaggerating! All I could do, I told him, was be grateful to have arrived safely and move forward.
“Ignorance is bliss!”
By the way, this is where I suggest that you not follow my example when purchasing and towing your own vintage trailer – especially for the first time. The condition of a vintage trailer varies widely, because every trailer’s history is unique. Do your due diligence first, and when in doubt consult professionals. The Vintage Airstream Podcast and other resources offer tips on how to inspect and safely tow your vintage trailer home. The following episode of The VAP features an interview with a professional who will inspect and transport your trailer for you – worth a listen even if you’re not inclined to use this type of service:
The Vintage Airstream Podcast – Episode 158: The Pro Tow
When I arrived on Friday morning, the new channels had been connected to the chassis and the welder had applied a coat of epoxy to the new steel to prevent rust until I could return to have them properly painted. Unfortunately, the amount of time the welder unexpectedly needed to spend on my project pushed his work schedule forward and he simply couldn’t spend any more time on my trailer during this trip. I’d have to come back and have the steel painted properly and get certain items I wanted sandblasted done. But now I would feel much safer on the road, knowing that the job was done right, and I’d gotten some work done underneath the trailer that I didn’t think would happen for another year or two.
The welding and painting ended up costing me more than 3x what I’d originally been quoted, and will cost me more yet to finish. But as I knew well from residential construction, sometimes you have to open the proverbial “can of worms” (ants in my case) to address unpleasant problems before they become an even bigger issue. That morning, as a light and strangely auspicious snow began to fall, I felt happier and much safer now that the welding was done properly. I was ready to drive a couple of hours up the road for an appointment with restorer Colin Hyde to have new axles installed…
Up Next: The Little Green Airstream gets new axles
Visit the Little Green Airstream’s Facebook page for additional photos of the welding repair!


