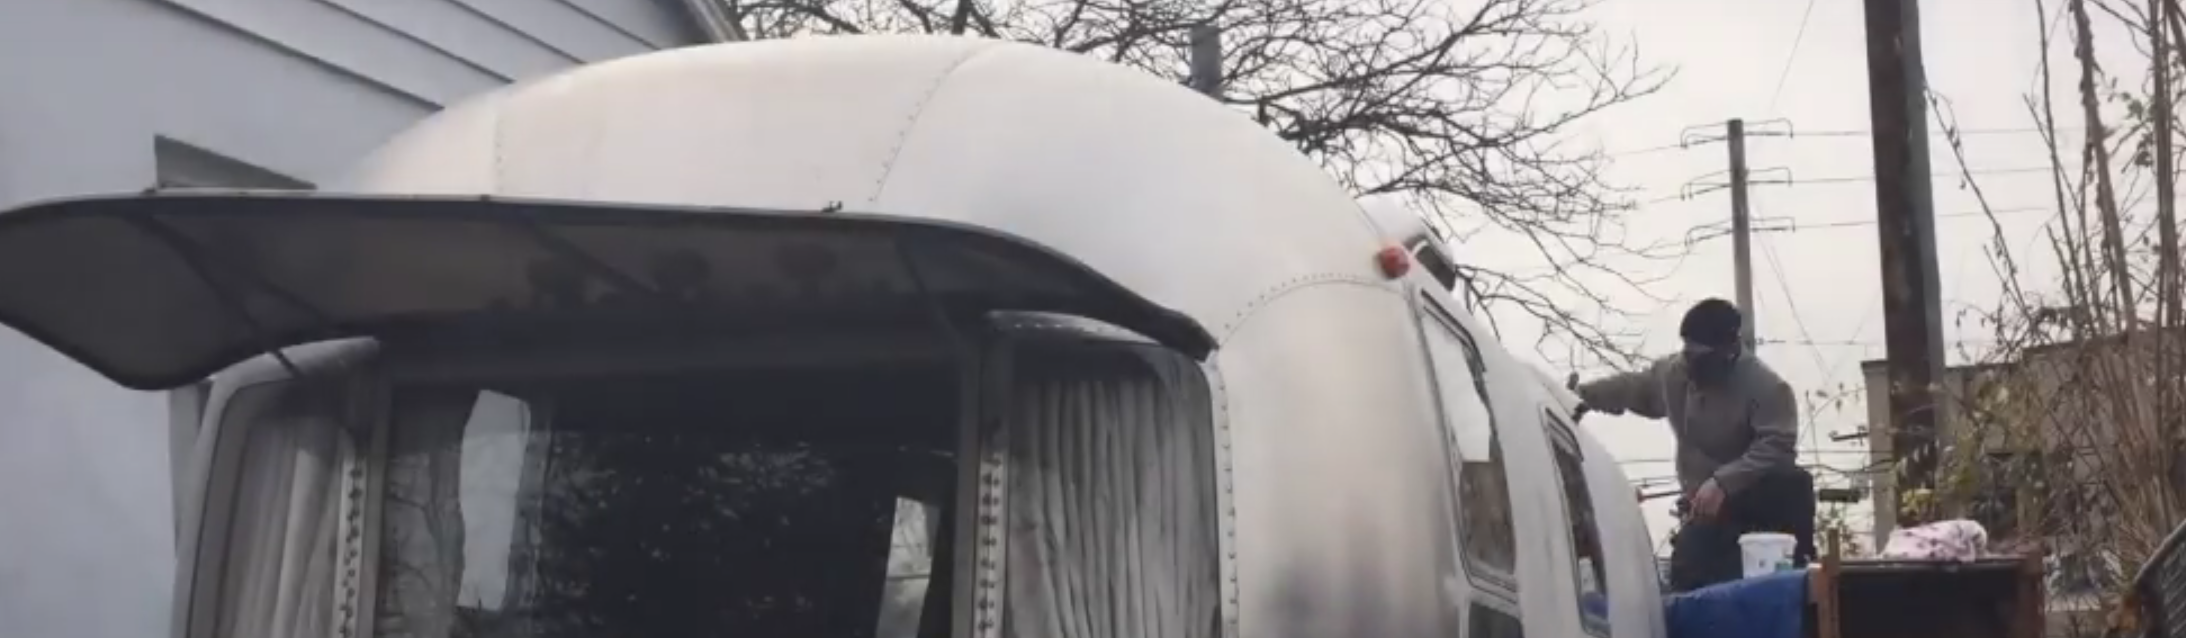
One of the tasks I wasn’t sure I’d cover during this phase of the renovation is polishing. The Airstream is famous for its mirror finish, and completing a proper renovation meant that I’d eventually want to shine it up. On the other hand, it’s primarily a cosmetic job, irrelevant to the goal of getting safely & comfortably to my destination. Despite earlier delays that added months to my construction schedule, the main reason why I started this time-consuming task now rather than later was because of access I have to a site where I can do this work rent-free and without bothering neighbors. Once I move to a new state under different circumstances, that might not be so easy!
First I had to learn what was involved. The first step was to download a .pdf about the process from the Vintage Trailer Supply website. Because there are many different methods and products that people use (and apparently debate over), I also checked out Air Forums to read about others’ experiences. This blog post by Airstream pro restorer, Frank Yensan, also offered helpful insights. I took all of this information, and while my trailer was in Vermont getting work done, I purchased tools & materials so that when I got it back home, I’d be ready to go:
According to VTS’s .pdf instructions, I needed to determine if the original plasticoat (a product for extending the life of the trailer’s shine) needed to be removed. There are different ways to do this; for example, looking for uneven oxidation over the surface – which mine has. Then, I did what’s called a “toothpaste test,” which involves rubbing the clean surface of your trailer with a dab of non-gel toothpaste and a finger, to see if any plasticoat residue comes off. My toothpaste tests didn’t indicate plasticoat, but there were signs that my almost-50-year-old trailer had maybe never been polished by previous owners. So I assumed that patches of plasticoat were still there, and started the process to remove it.
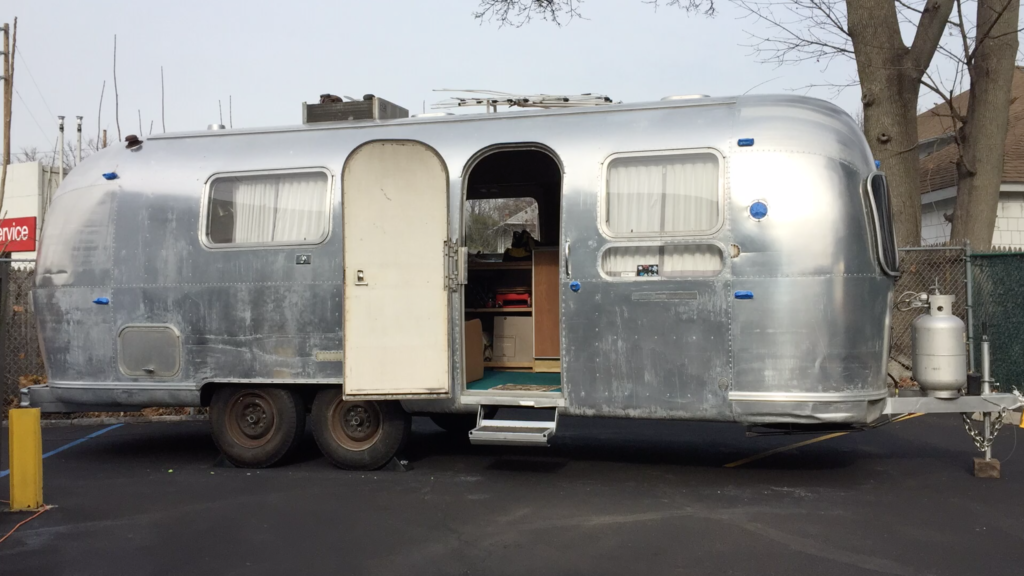
To remove the plasticoat, I did a bit of research and again returned to a product I’d used before – advertised as being earth-friendly – called Smart Strip. My experience with any paint-related product is that it usually takes two passes to make sure things are done properly, so I went over the trailer twice with this product using a big brush, leaving it on overnight and hosing off the residue each time.
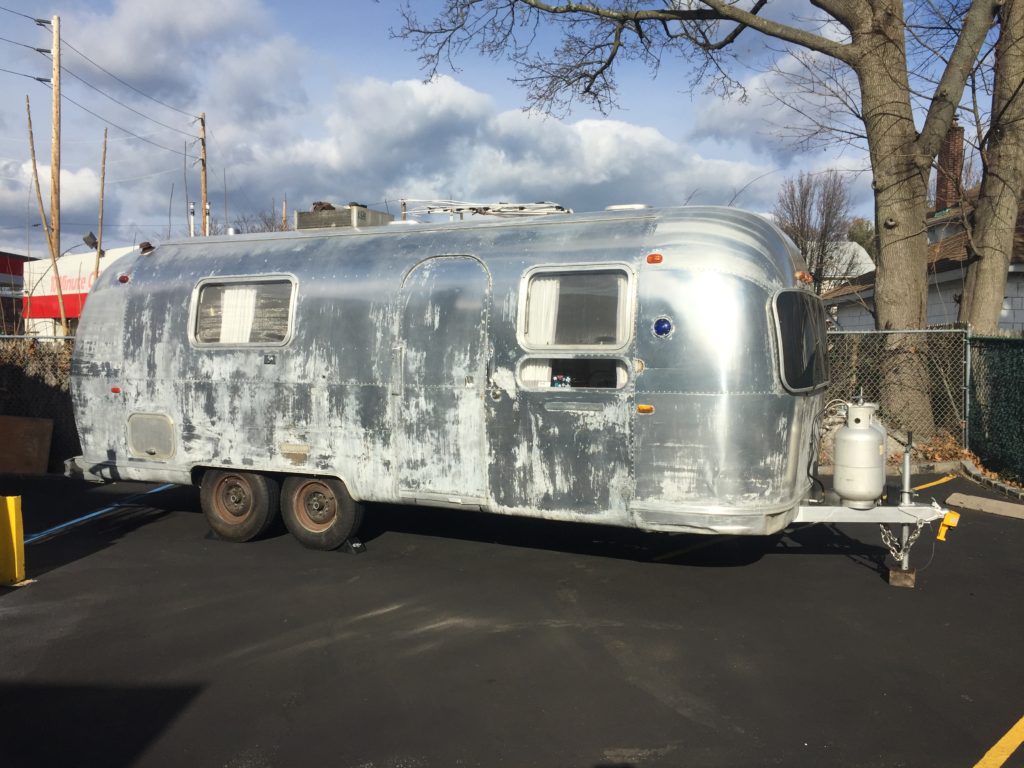
You’ll notice the white streaks over much of the bottom half of the trailer at this point (see above), which would not wash off. What they are and why this happened, I do not know. Was it the product? The length of time I left it on? The temperature in NY in early December, when I applied it? The condition of the aluminum underneath the plasticoat? More importantly to me now, could I remove it, or would I have to live with it? It seemed to be etched into the aluminum, which could be a big problem. I decided to give these spots a careful scrub using a gentle abrasive pad and see what would happen:
Fortunately, it made a big difference! Hopefully the polishing process would clear up the rest.
Tools:
- Large paintbrush
- Water bucket (for rinsing)
- Rags / towels
- 8′ Ladder
- Scotch Brite general purpose scouring pads
- Water hose
Products:
Time: 14 hours over 4 days.
Up next: Fixing vintage locks & access doors


Awesome project. Need one of these!
Thanks!
Thanks, Chris! Go get you one! 😉