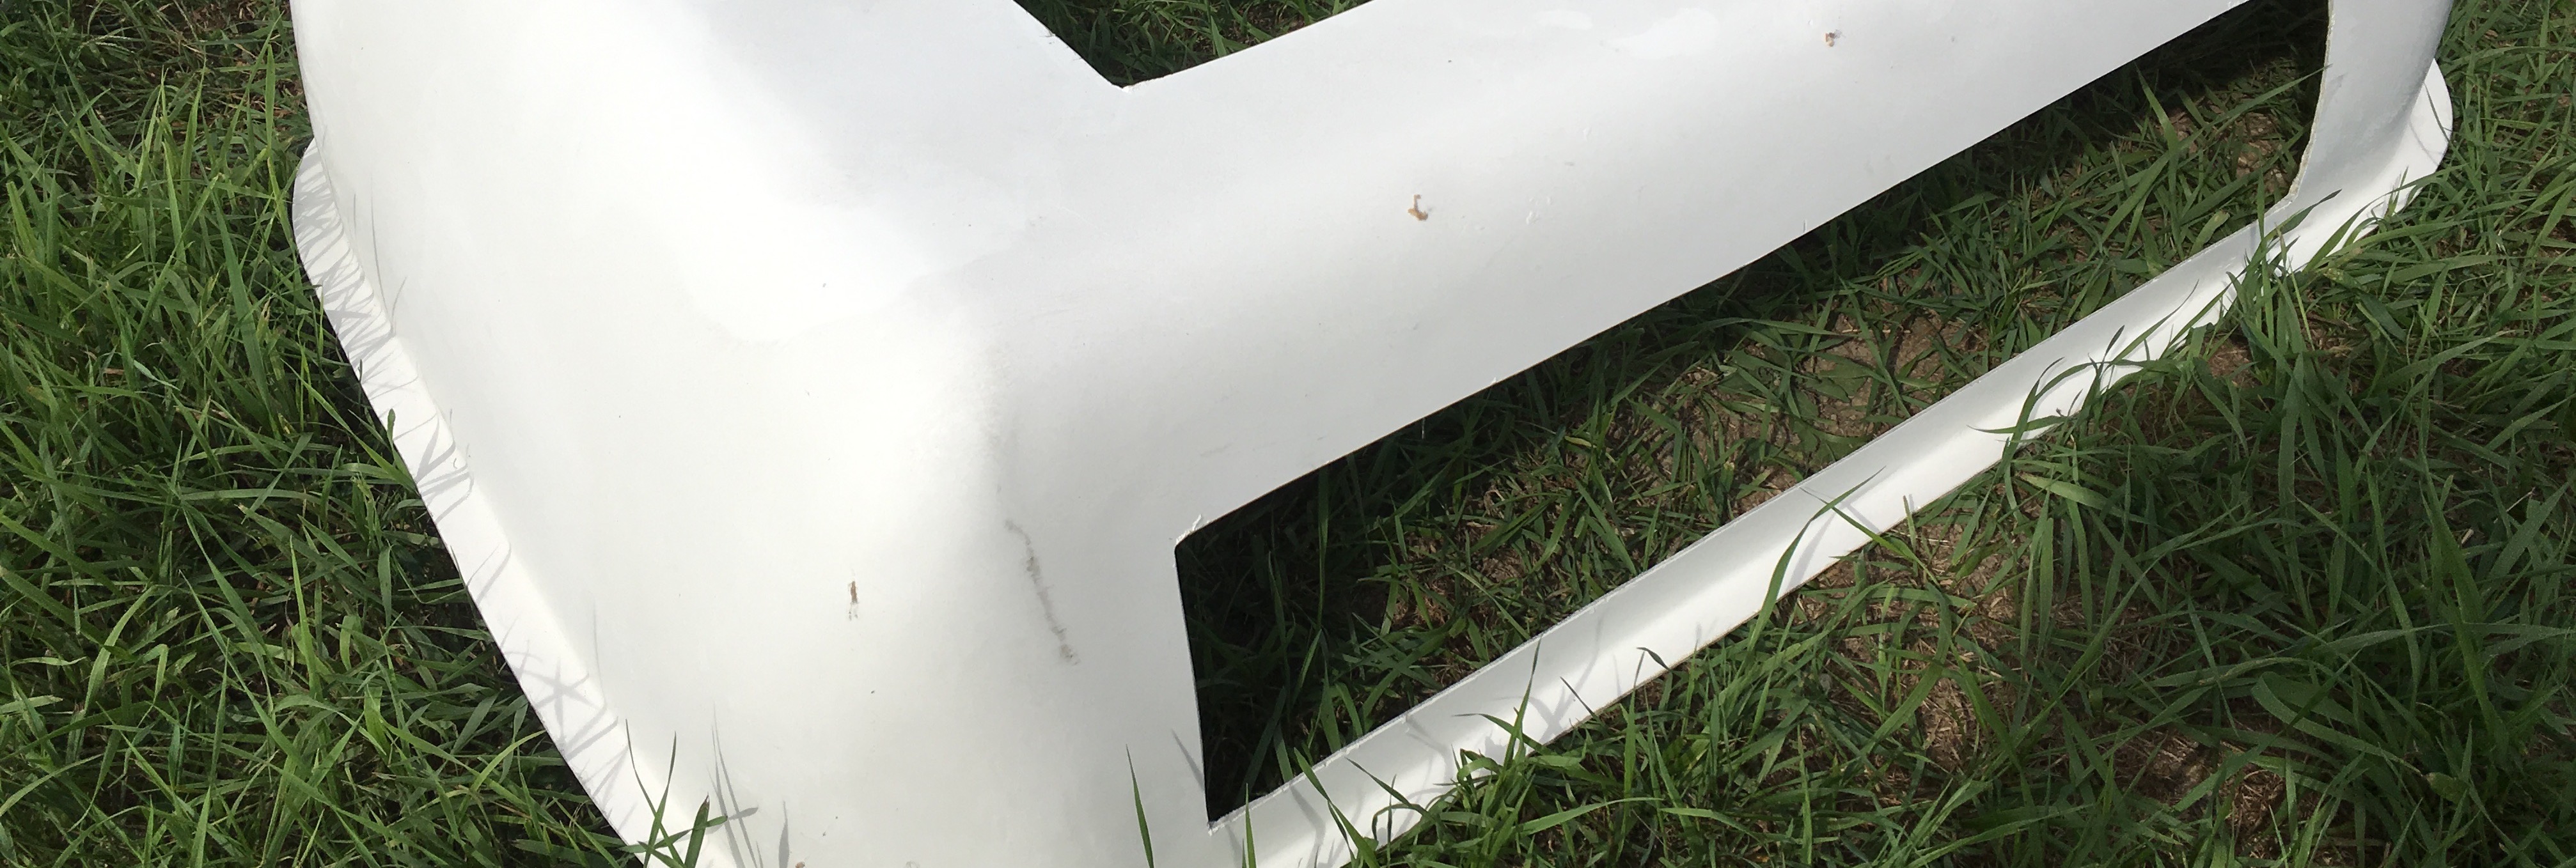
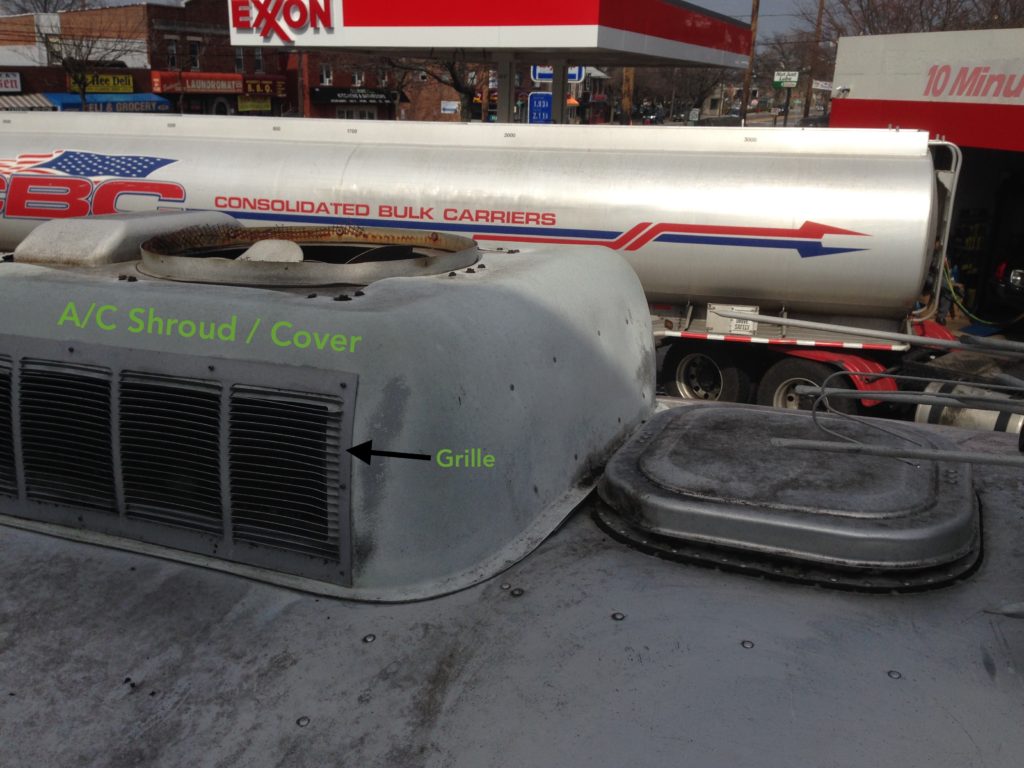
The original Armstrong air conditioner that was installed on my ’69 Airstream came with a plastic shroud (cover) to protect the unit from the elements. Over time, the plastic degrades, and the shroud needs replacement. In a case like this, where the company is no longer in business, finding parts can present a challenge. On top of that, when parts are not universal and need to conform to the specific shape / size of the antique unit, they’re even more difficult to source.
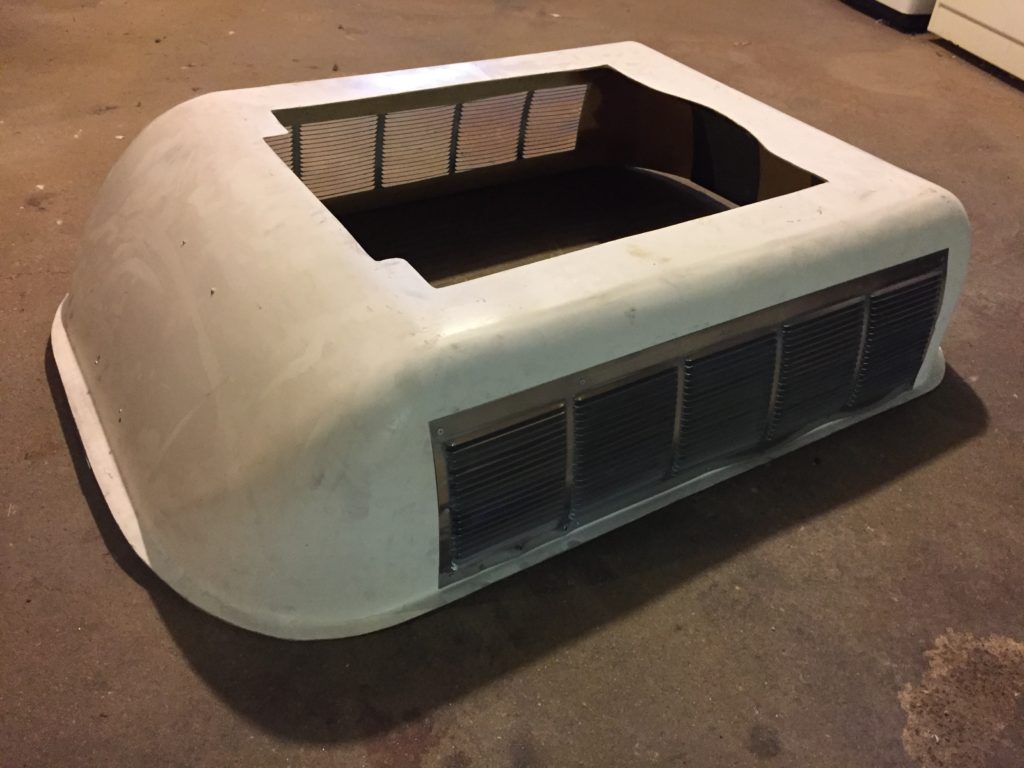
In this case, because of the strength of the Airstream brand and the demand for vintage parts, one distributor that I found was able to provide a fiberglass replacement shroud. I’m of the opinion that some of these harder-to-find parts can be overpriced, and one wonders if – in this age of 3D printers – perhaps some of these items can be reproduced inexpensively. However, I didn’t have time for that level of research. It’s about supply & demand and I’m glad that I was able to source the piece at all. The shipping ended up costing as much as the shroud itself in my case, and all in all it was just an expenditure I decided to suck up, as it still cost less overall than installing a new AC.
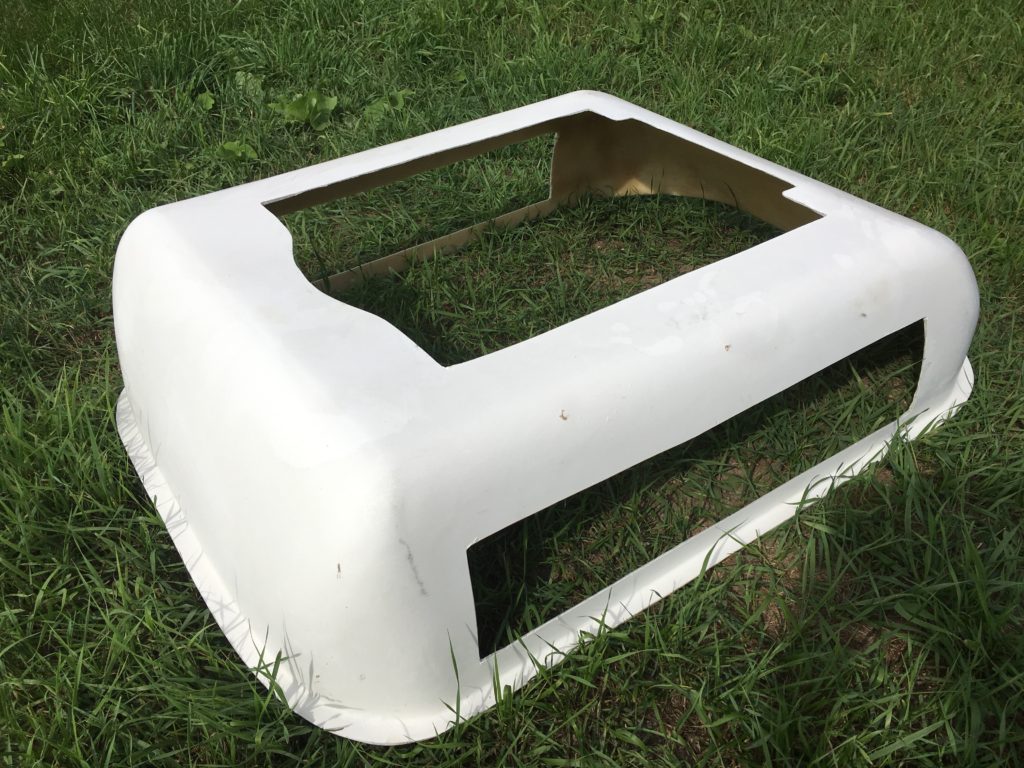
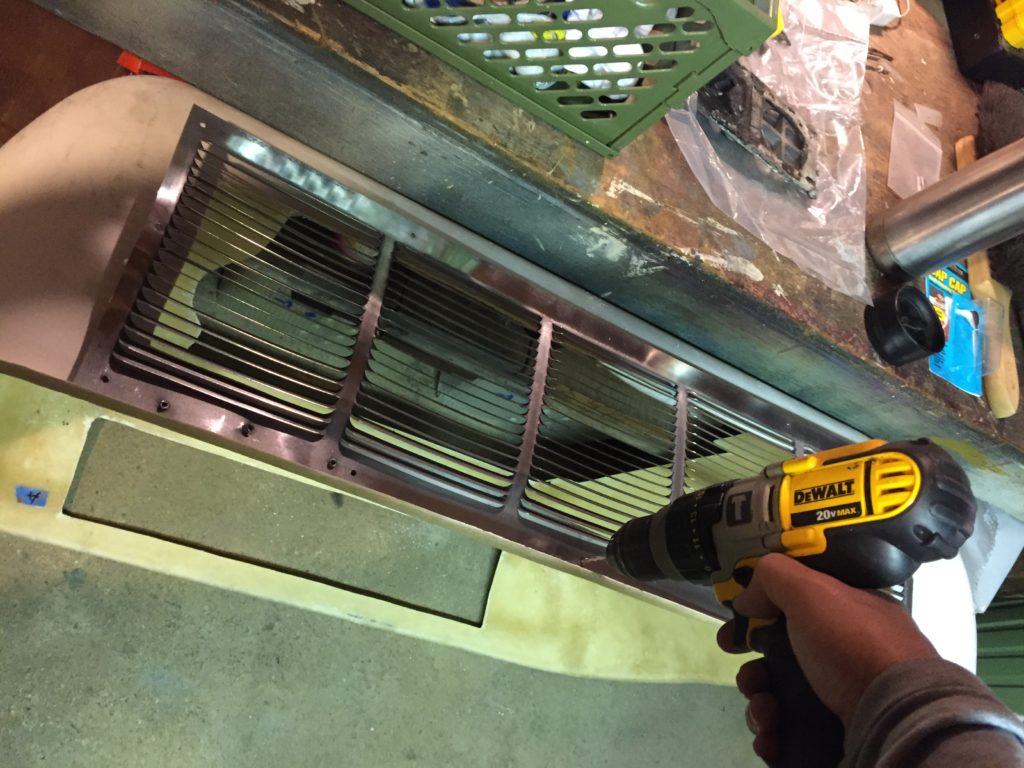
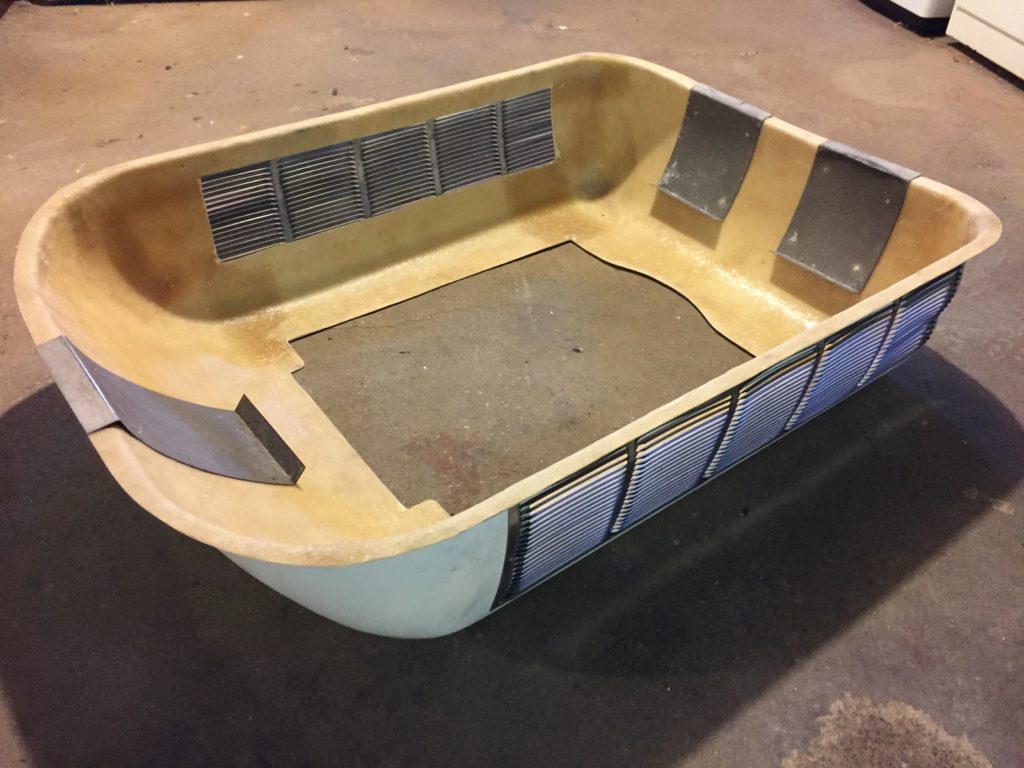
I was also lucky that my vintage trailer had an old shroud with the original grilles (for ventilation) & flanges (to attach the cover to the body of the trailer), which I’ve never otherwise come across in my search for Airstream parts. So all I needed to do to prepare the new shroud was to remove the grilles & flanges from the original and then install them anew:
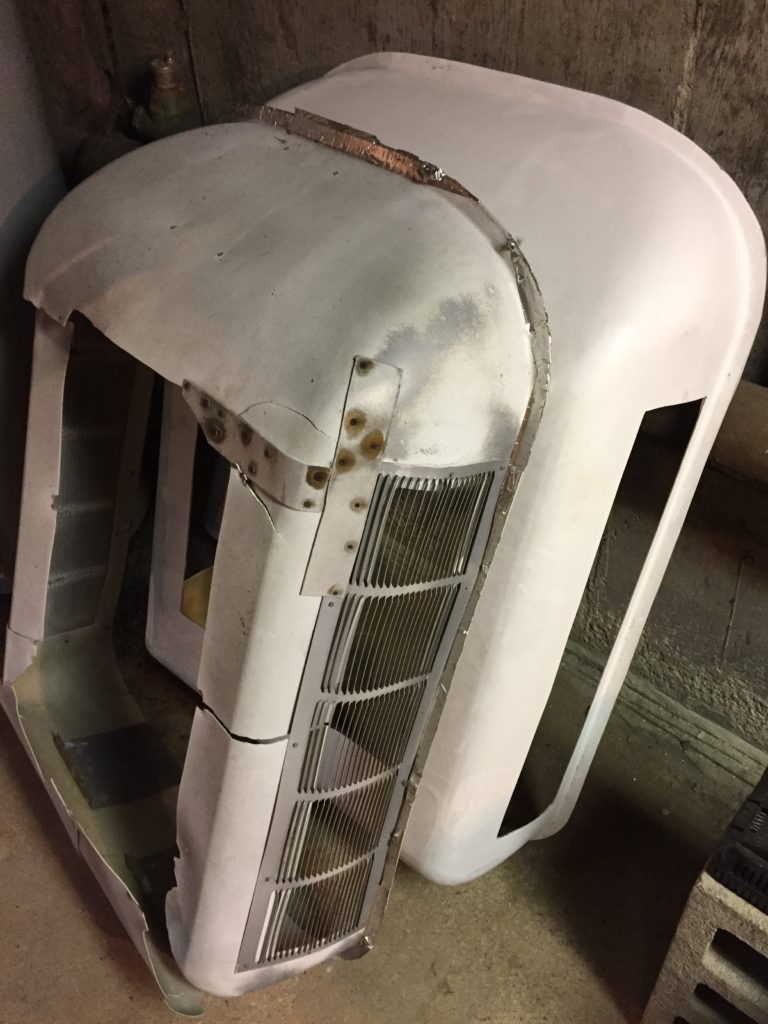
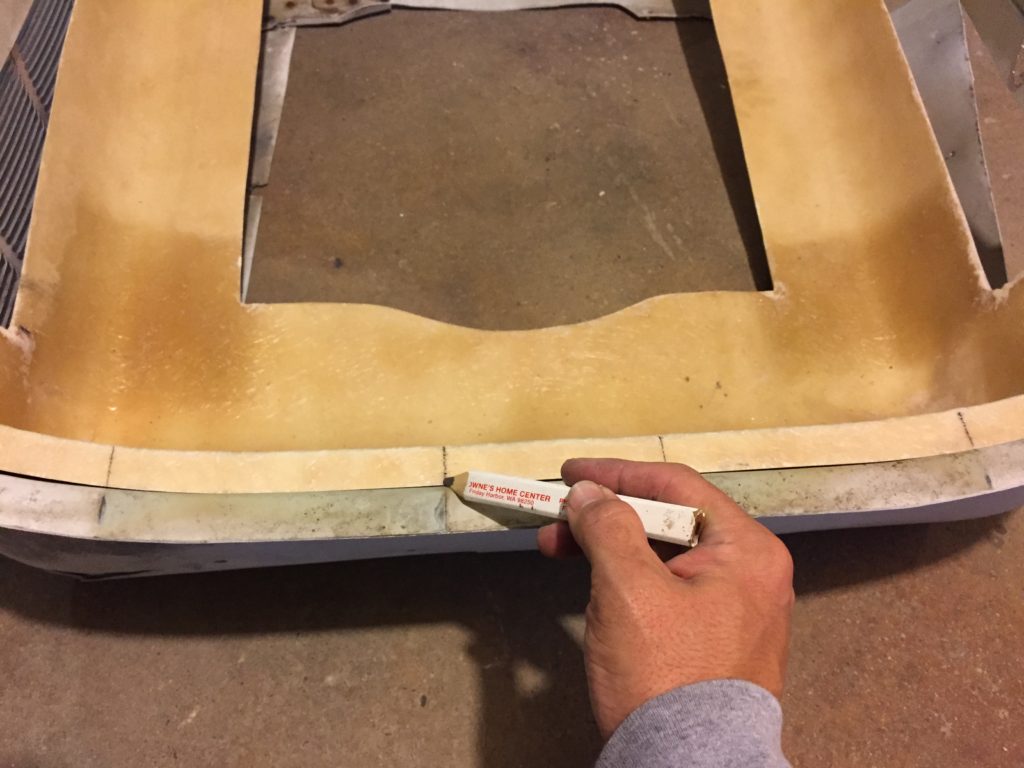
So, my approach was to line up the two shrouds next to one another, then measure and mark the locations of the grilles & flanges, then remove, clean, and reinstall these parts onto the new shroud. The process was pretty straightforward:
Tools:
- Drill with 1/8″ bit (for removing and creating holes for rivets)
- Tape measure & Pencil (for measuring + marking)
- Rags / towels
- Aluminum rivets & Rivet Gun
Products:
Up next: Repairing a Vintage Airstream Air Conditioner (Part 3)


