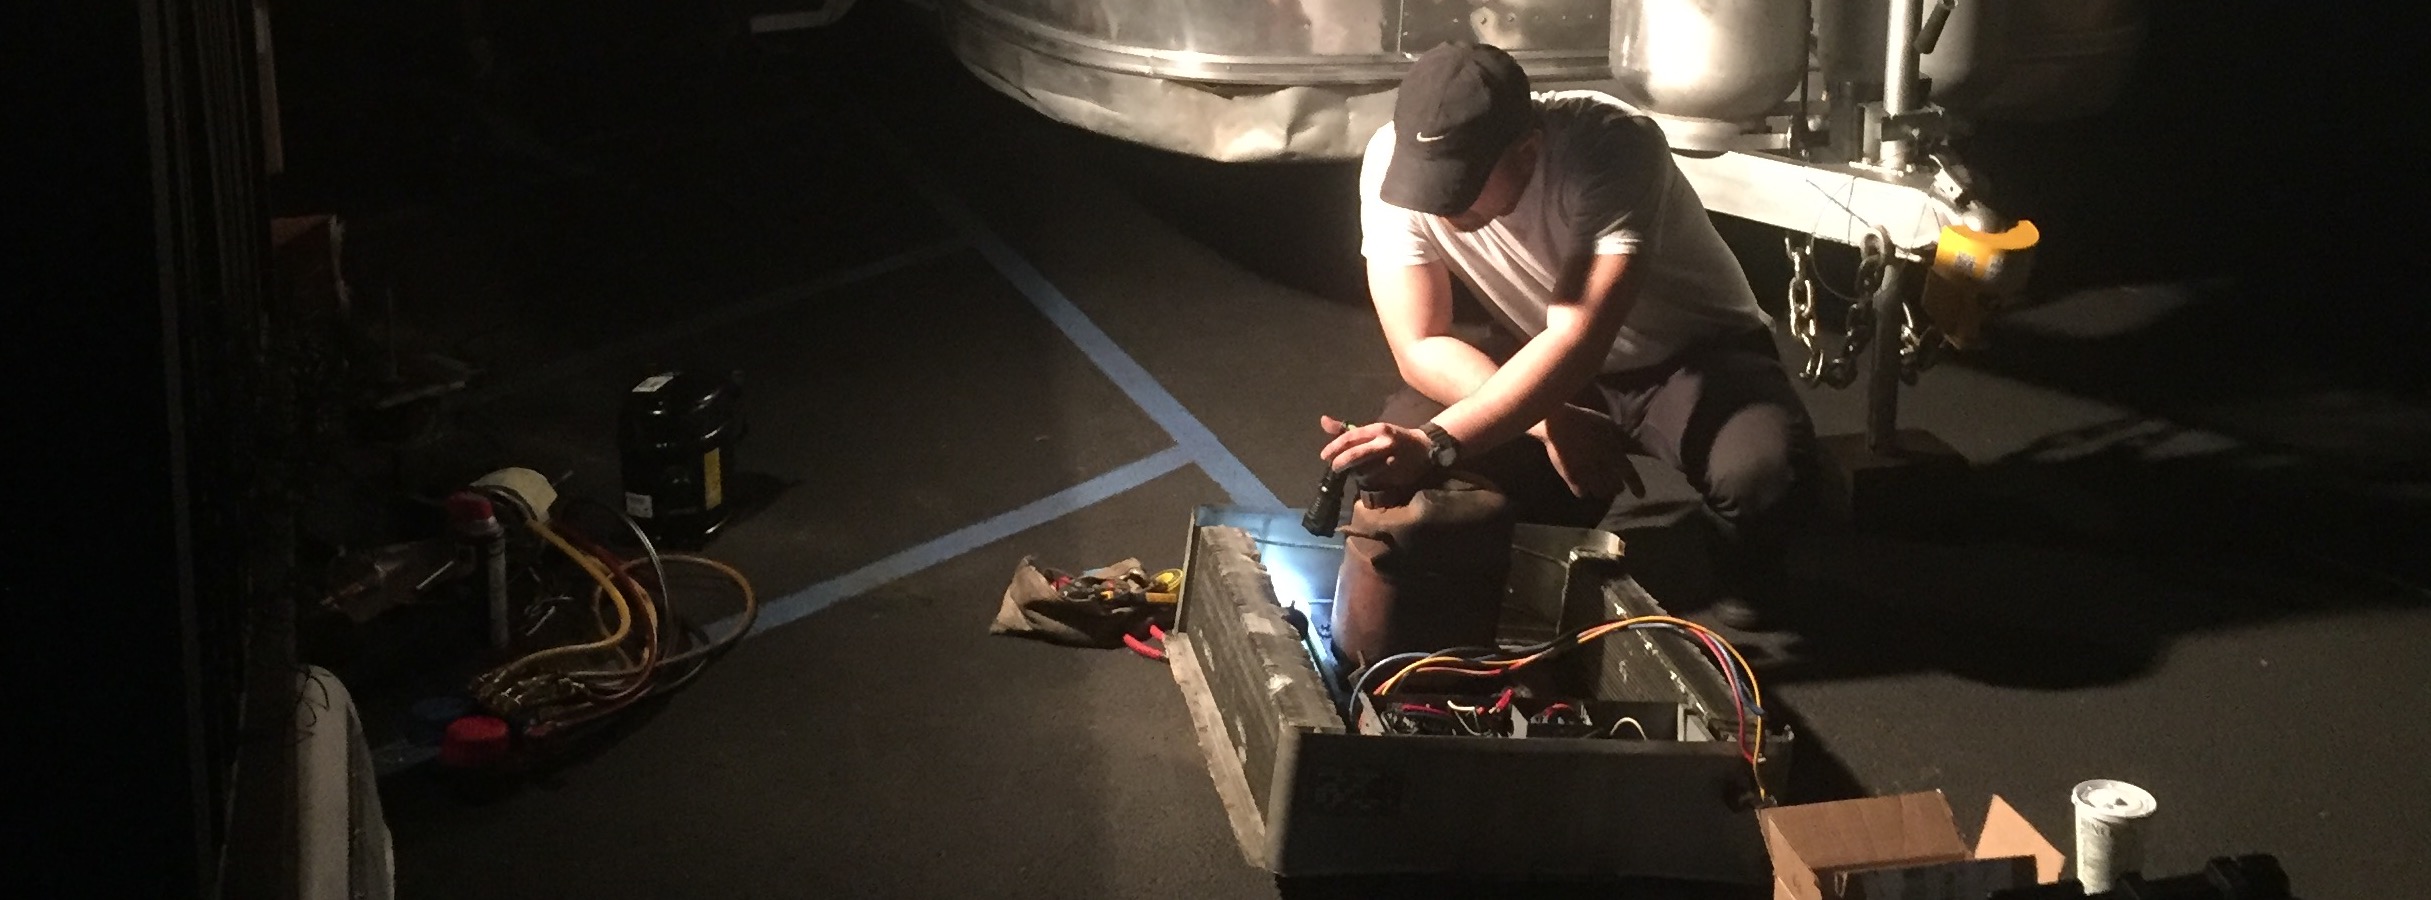
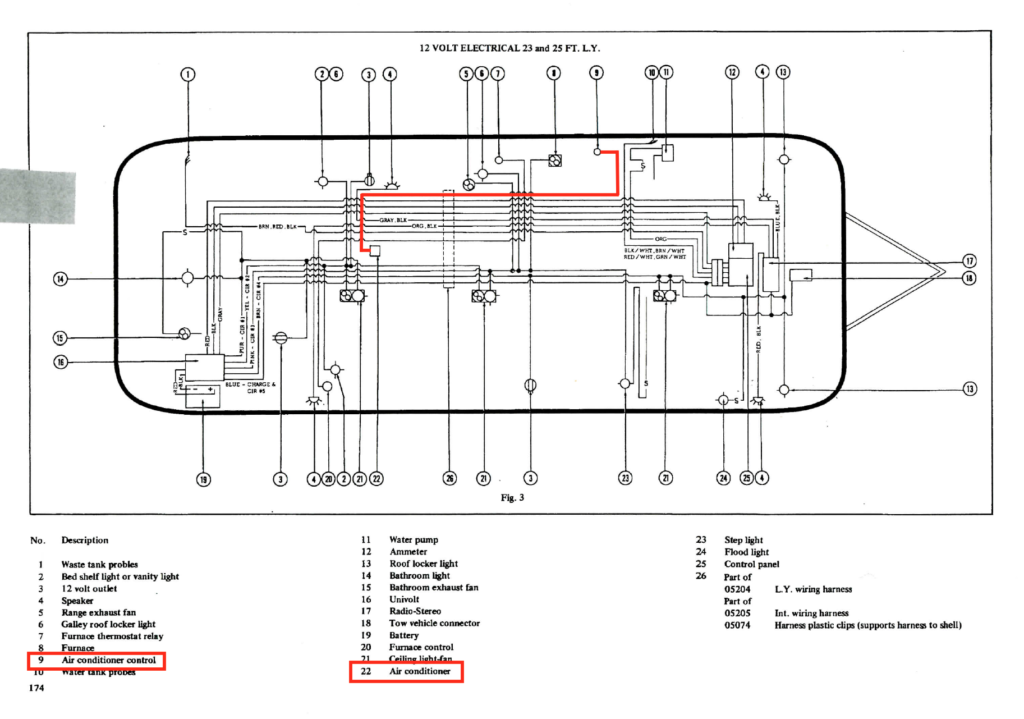
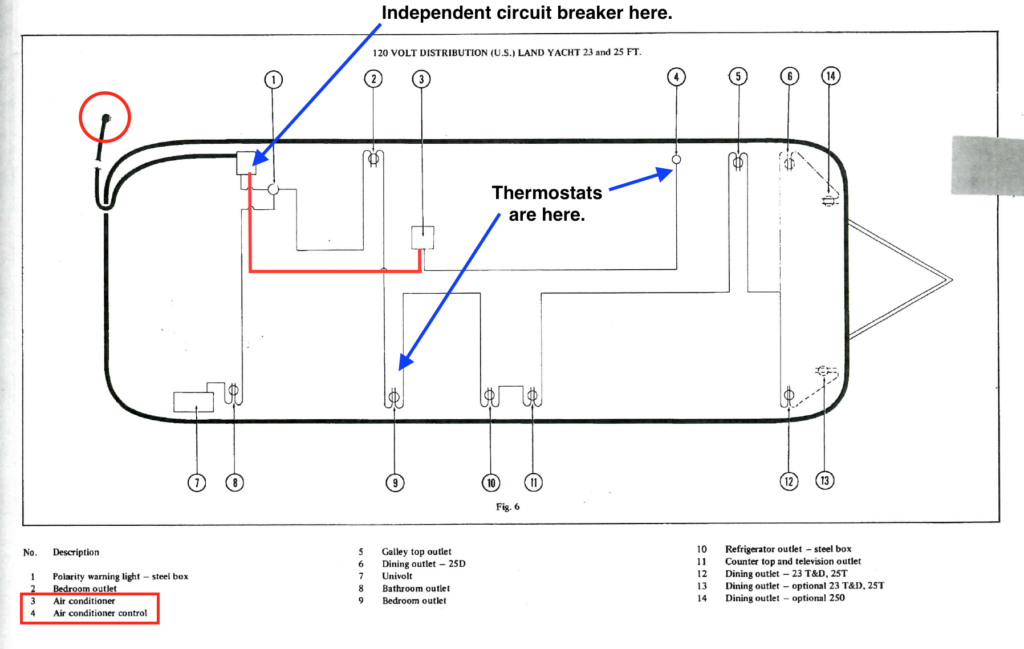
While my contractor, John, was researching and buying parts for the A/C repair, I needed to help him figure out how to power the A/C so we could test it throughout the process. Up until this point, I’d spent the majority of my time working on structural elements and making the interior livable, and had entrusted the systems work to my contractors. Fortunately, I’d purchased some vintage Airstream manuals on eBay for my trailer as a reference, and shared my findings with John:
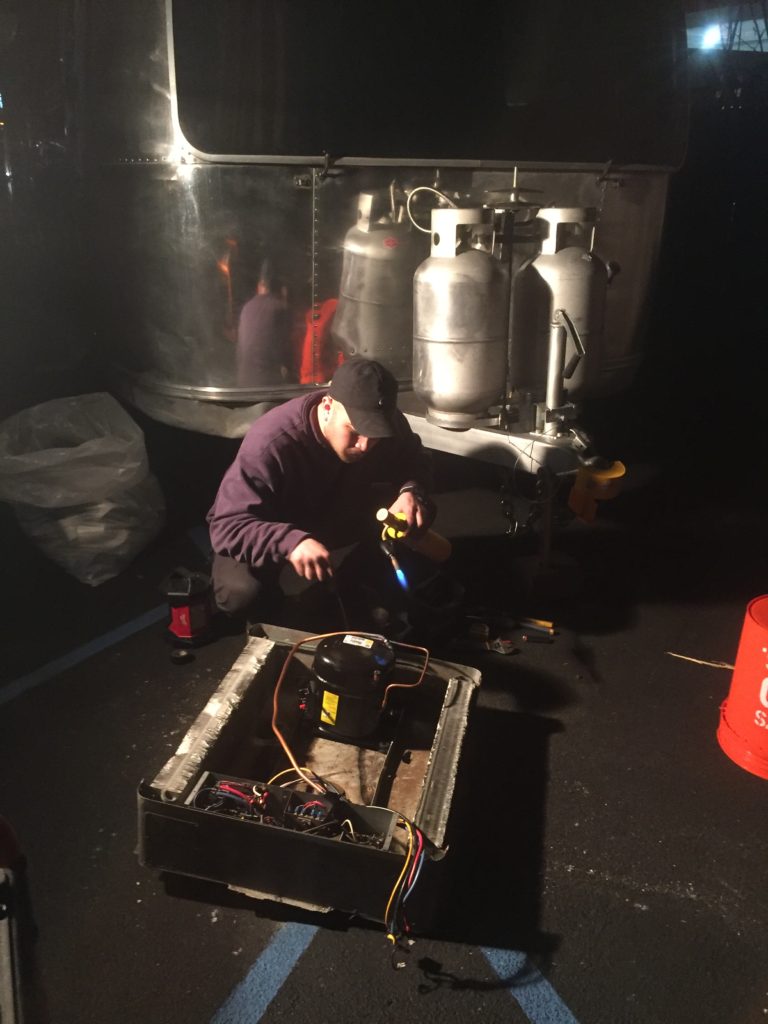
John’s first step was to disconnect the compressor and remove the fan motor, then remove the unit from the top of the trailer so that he could work more easily on the ground:
Once we got the unit on the ground, it was time to remove the original compressor & install the new one.
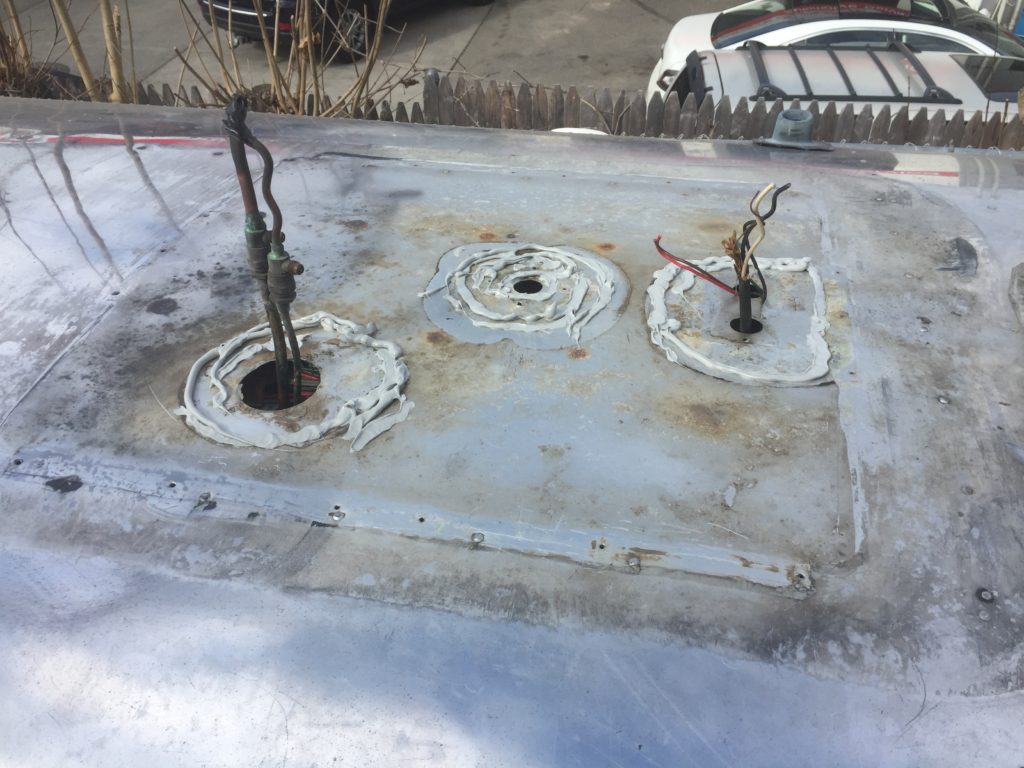
The following day, while John went to work installing a new filter (for protecting the refrigerant system from foreign matter), and dry fit the new fan motor, I prepared for us to reinstall the unit on the roof:

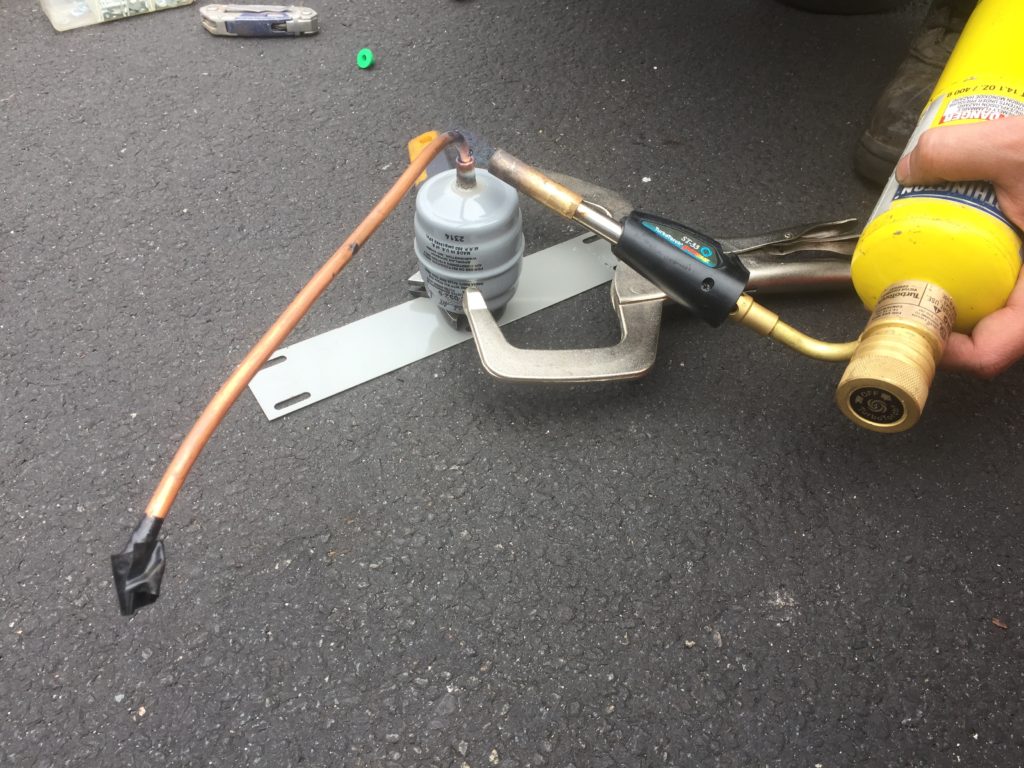
Lastly, we reinstalled the unit on the roof and John connected the new copper lines to the existing ones running through the roof of the trailer:
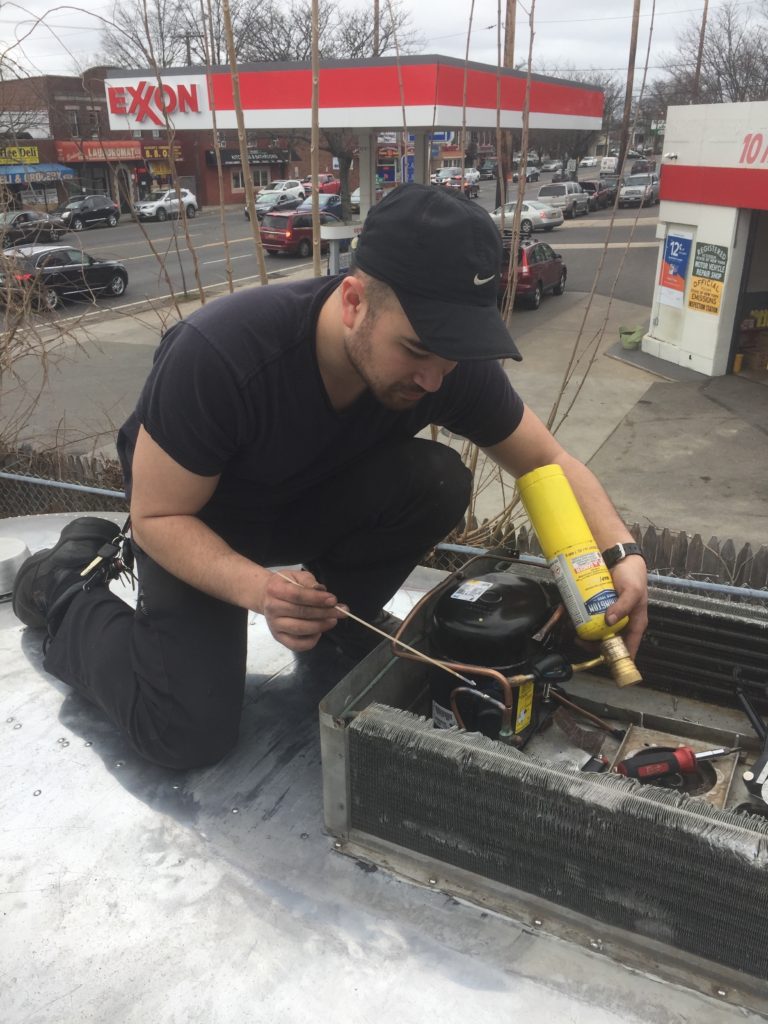
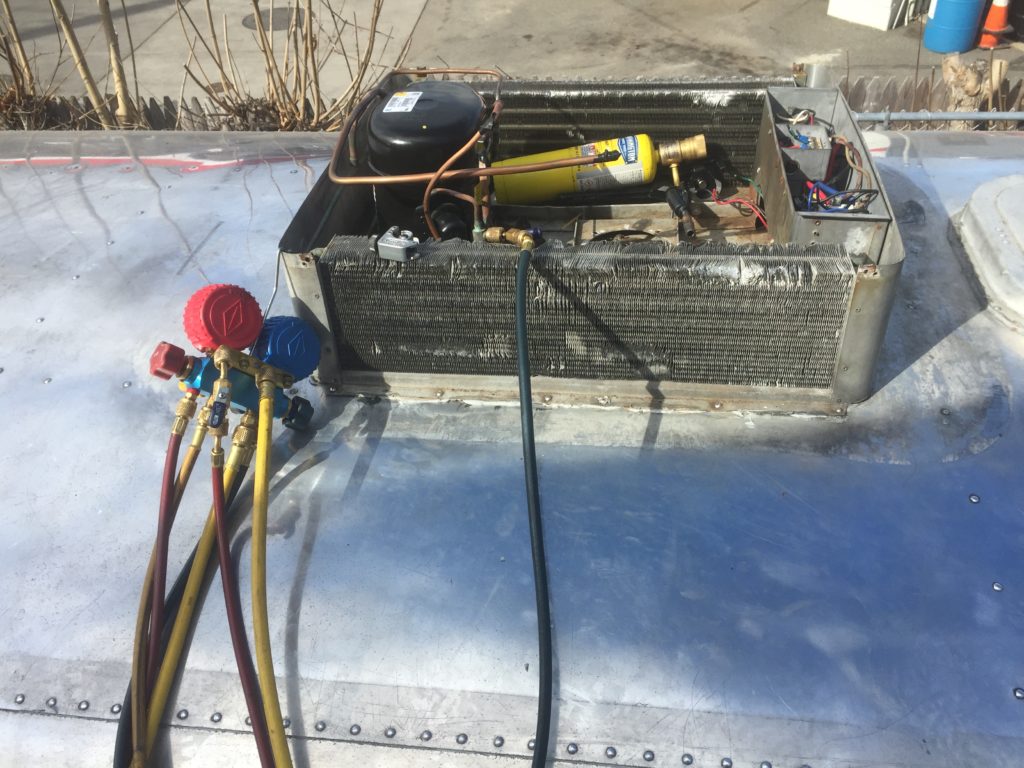
Once that was done, what remained was to put in the new fan motor with blades, install new capacitors and a thermostat, then test the system…
Tools:
- The work was all done by a professional, so the tools were part of his personal kit (various / unknown)
Parts:
- Fan Motor: GE 3651 Permanent Split Capacitor, Multiple Mount (Model: 5KCP39DG5826ET)
- Compressor: Tecumseh AK Model
- Filter / Drier: Sporlan Catch-All (C-052-S, 1/4 ODF Solder)
Products:
Up next: Repairing a Vintage Airstream A/C (Part 4): Final Installation


